|
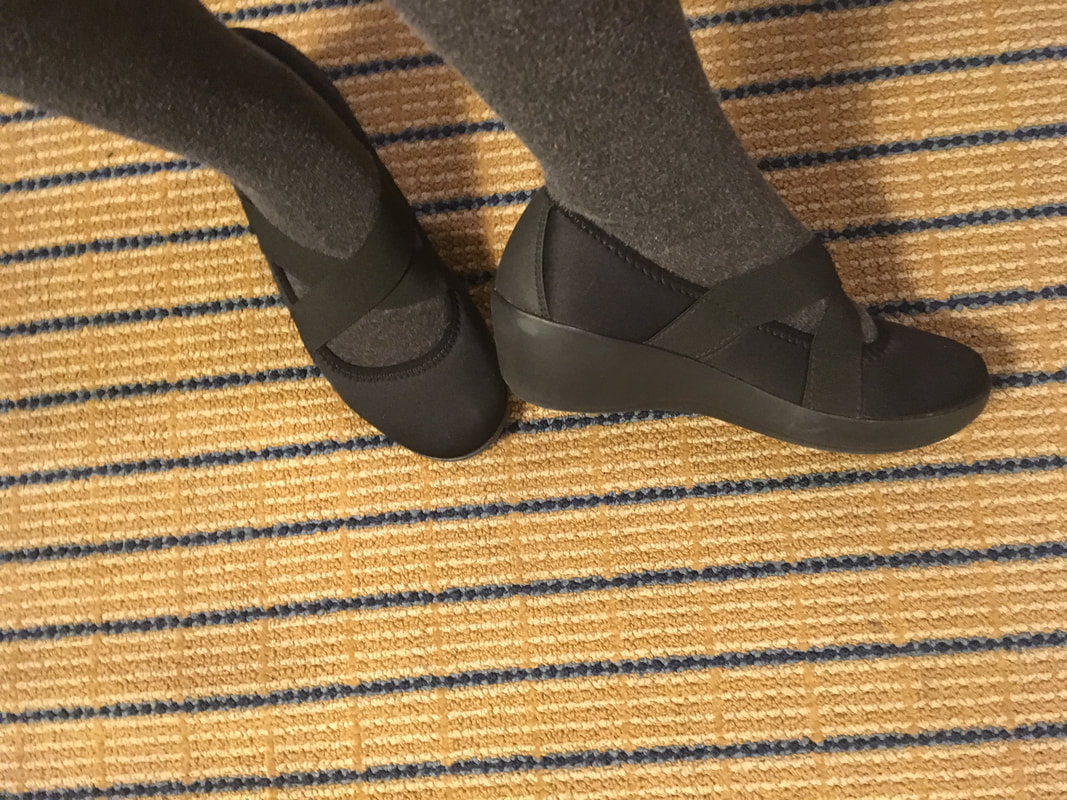
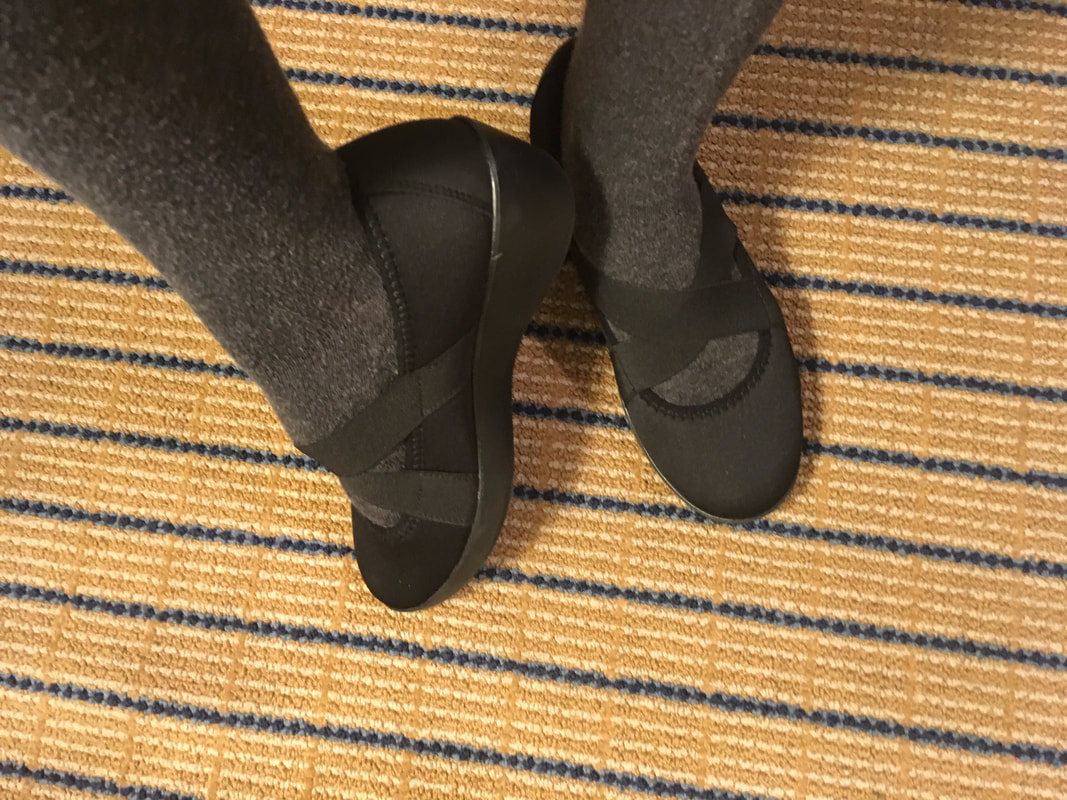
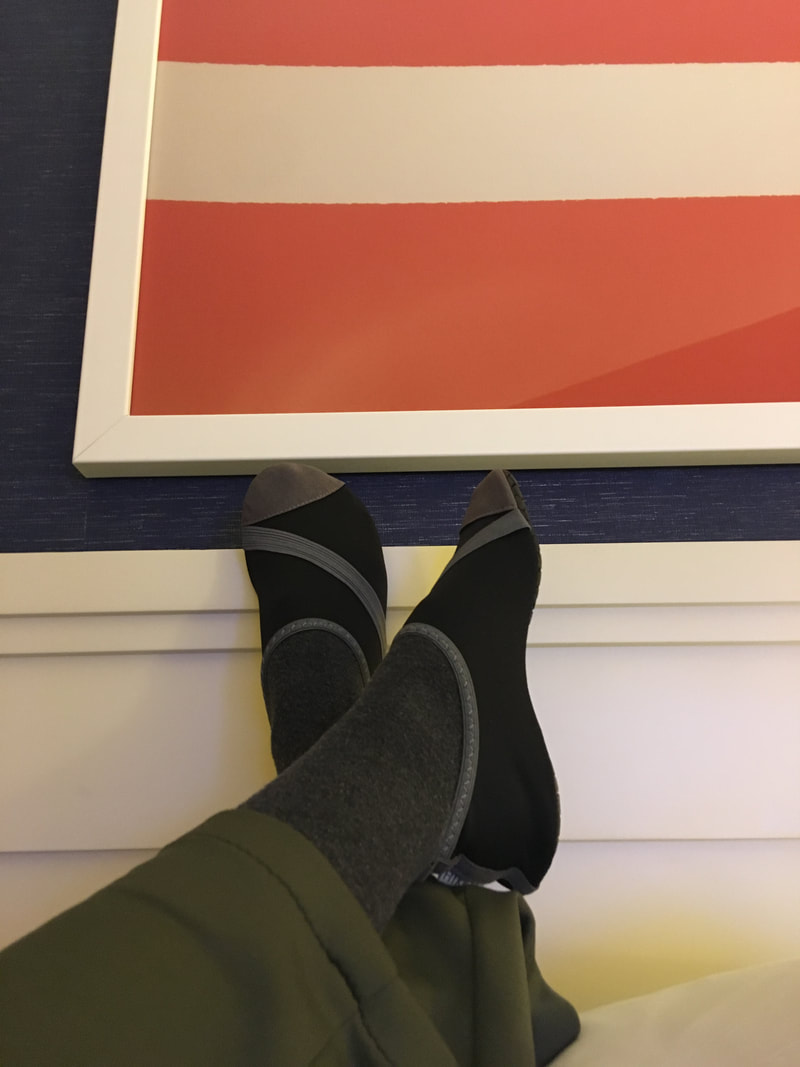
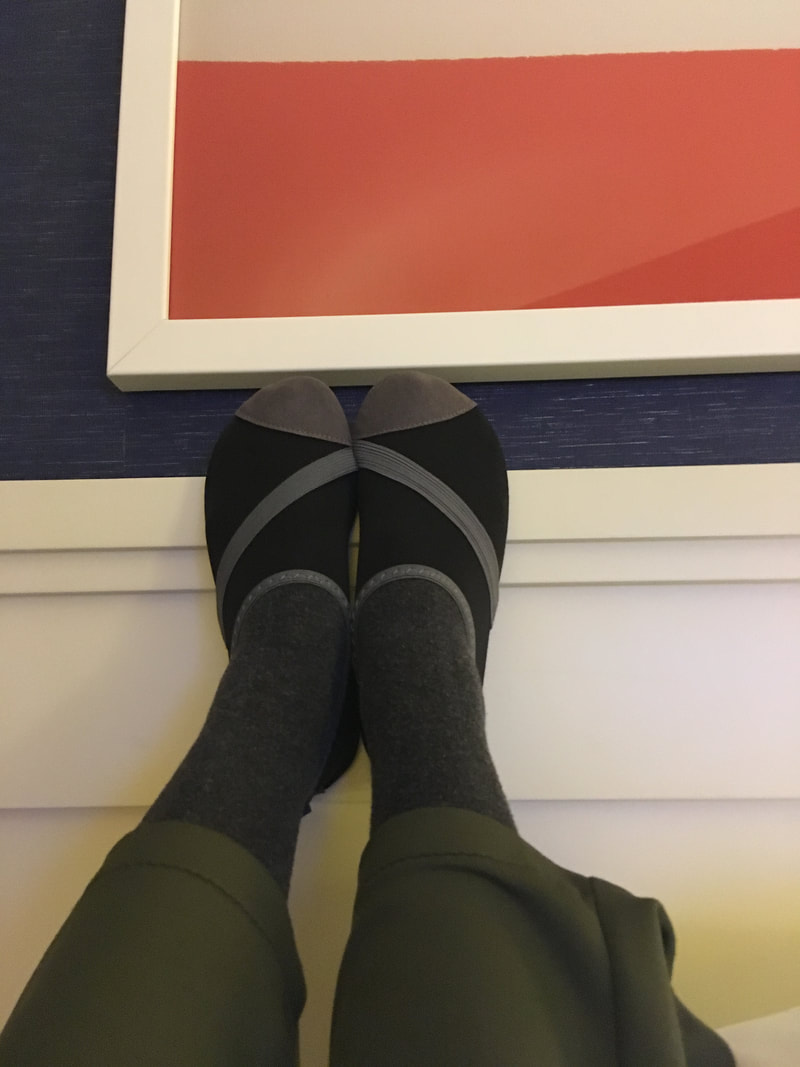
Traveling for work is hard. There, I said it and it's the truth. It's very hard on your feet. Packing extra shoes is a pain because they take up so much space but also might not get a lot of wear. Here's a few tricks I've learned over the years.
0 Comments
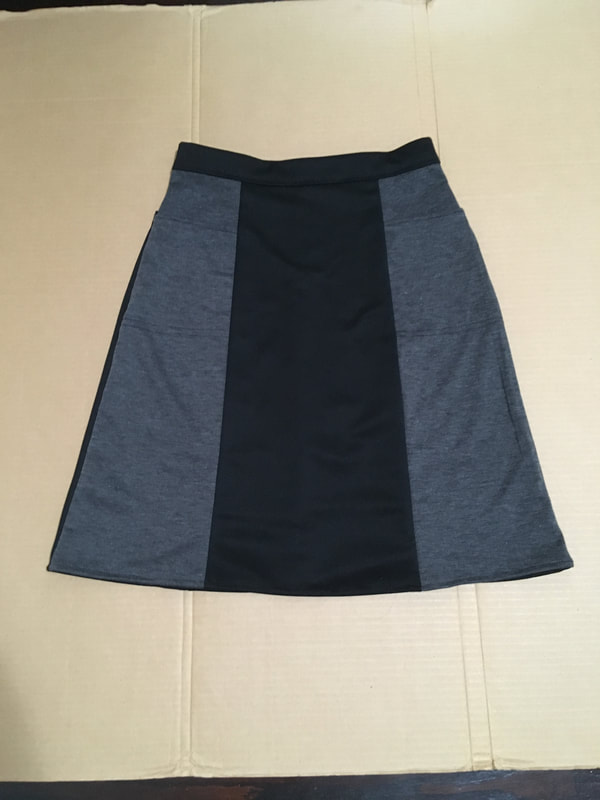
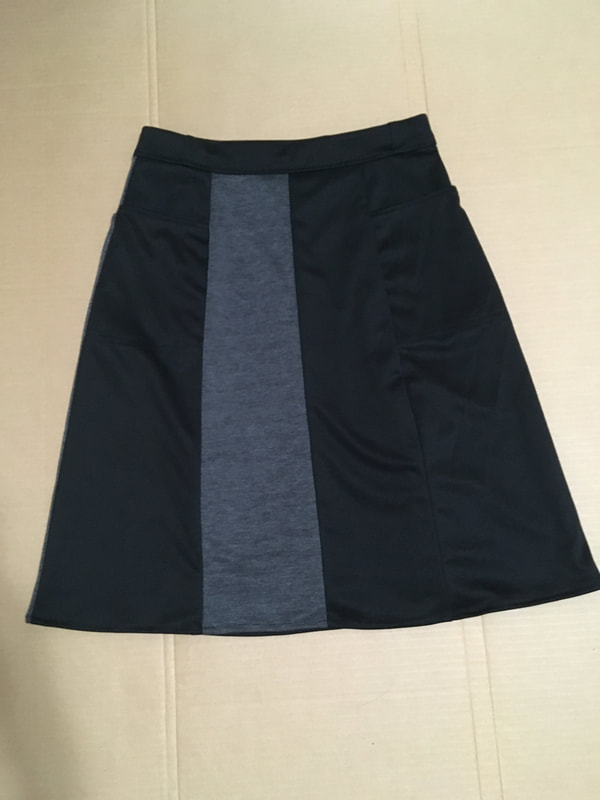
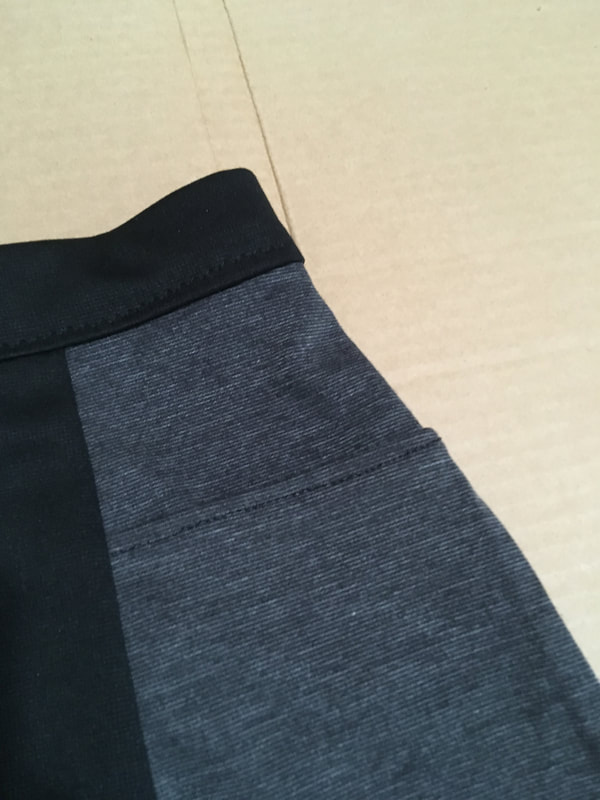
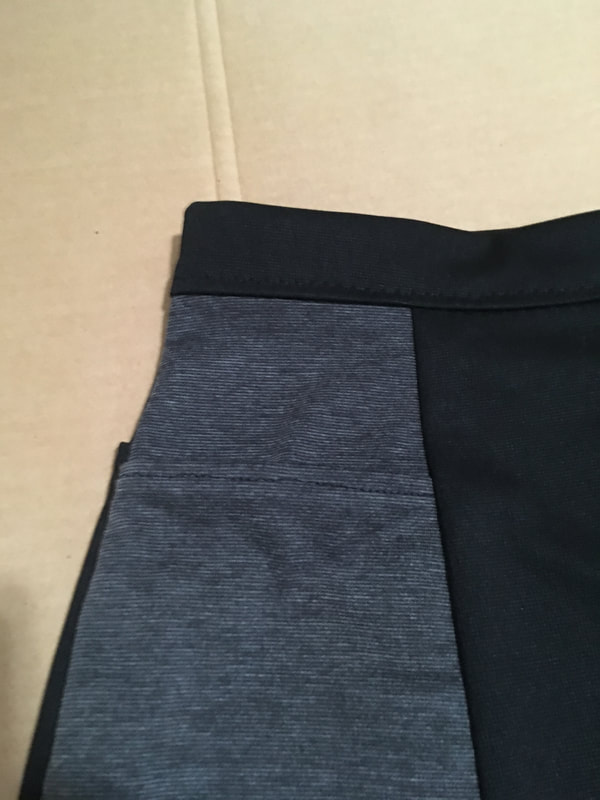
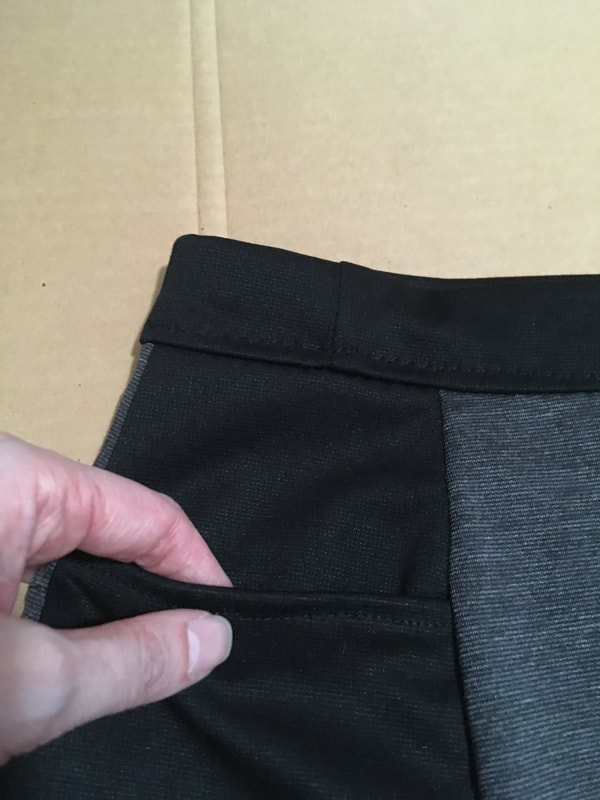
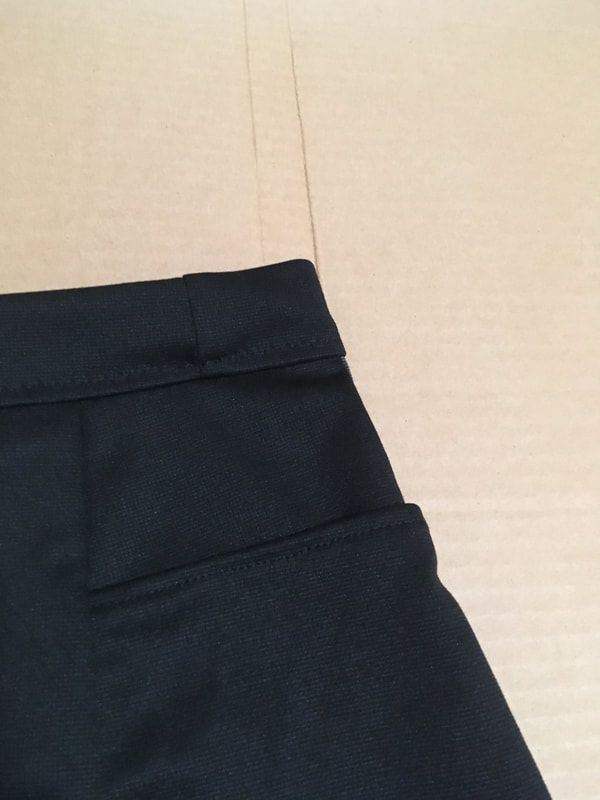
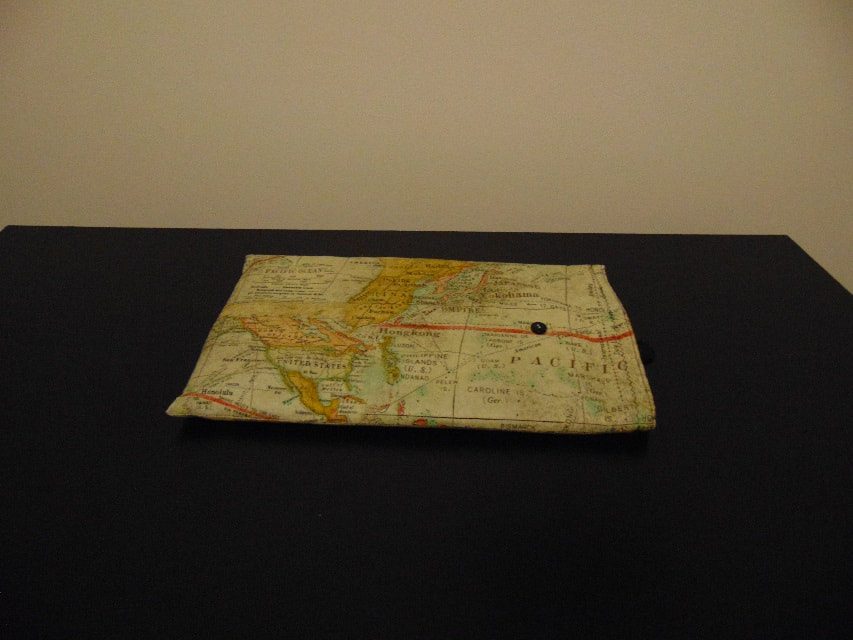
I had some leftover ponte fabric from Walmart (don't hate me) and decided to make a colorblock skirt to use up the remnants. Colorblocking is nice because it adds interest to an outfit but can still function as a neutral depending on the colors and patterns. I decided to add four pockets to this skirt, two on the back and two on the back. Basically, I cut the side panels in two pieces, adding an extra five inches of overlap for the pockets. I hemmed the top of bottom half of the side panels and then used top stitching to attach the two pieces together at the base of the overlap and at the sides. I figured more pockets is good for travel when you have a lot of stuff to carry around. 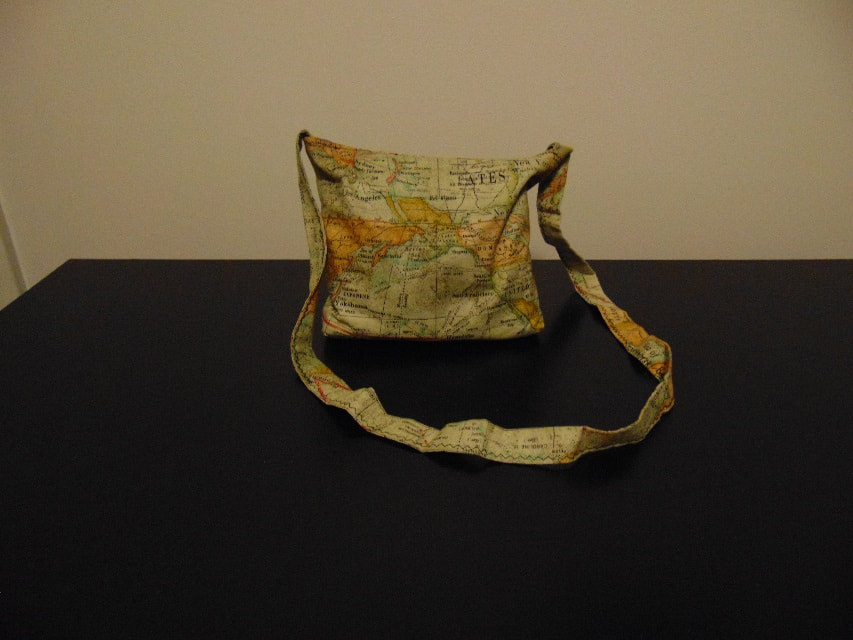 I love the concept of trompe l'oeil. It's French for "trick the eye" or "deceive the eye" and although I am quite novice at this technique, I like to incorporate it into the bags I make. So I use a lot of printed, woven fabrics with maps or handwriting as the print, like the purse above. The purse is made of two squares, lined with interfacing, and sewn with a gusset on each of the bottom corners. I had enough of the material to use the same map-print for the lining and pieced the remaining fabric together to make a cross-body length strap. I primarily bought this fabric to make a laptop sleeve so it would look like I was carrying around some old maps when I was really carrying my laptop. Laptop sleeves are really easy, especially if you have remnants of fleece. You just measure the laptop, add some inches for seams and the closure and cut four pieces of the fabric and two of the fleece (or padding). I used a loop and button closure for this sleeve to keep it simple because I take this sleeve traveling and don't want to fuss with complicated ways of closing the sleeve. Since I wanted to reserve the map-print for the purse, I ended up using a piece of bias tape for the loop. The picture on the left is the sleeve closed and the picture on the right is the sleeve open.
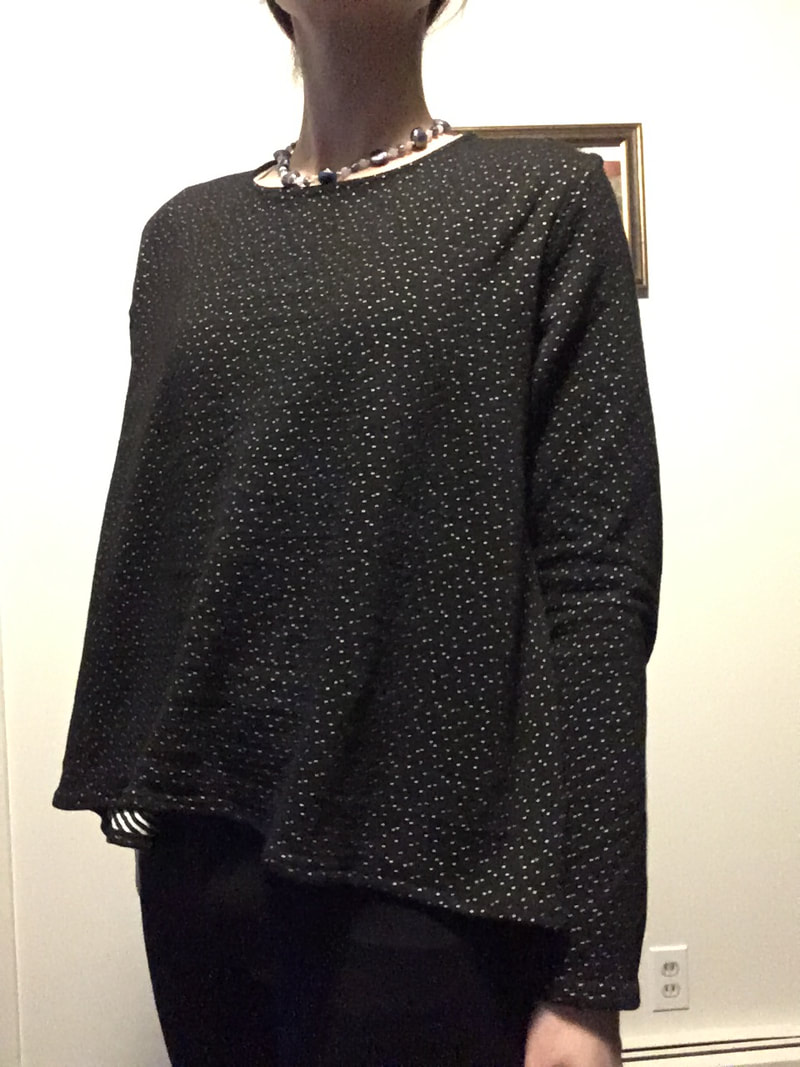
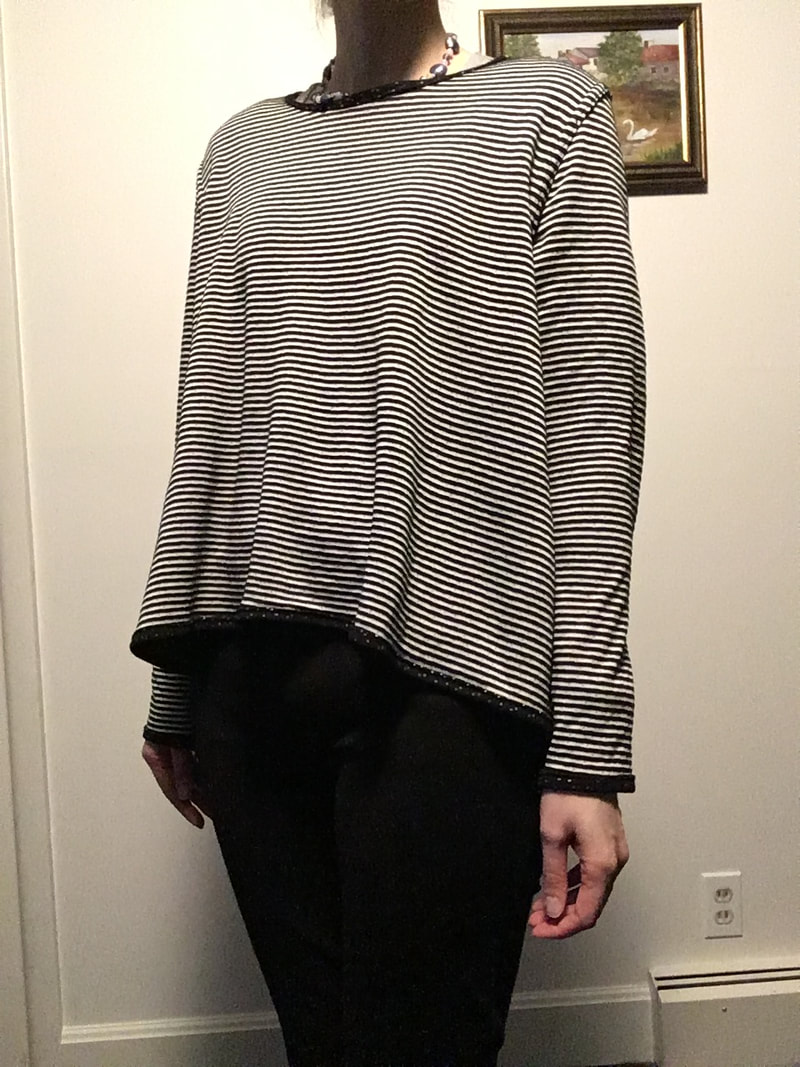
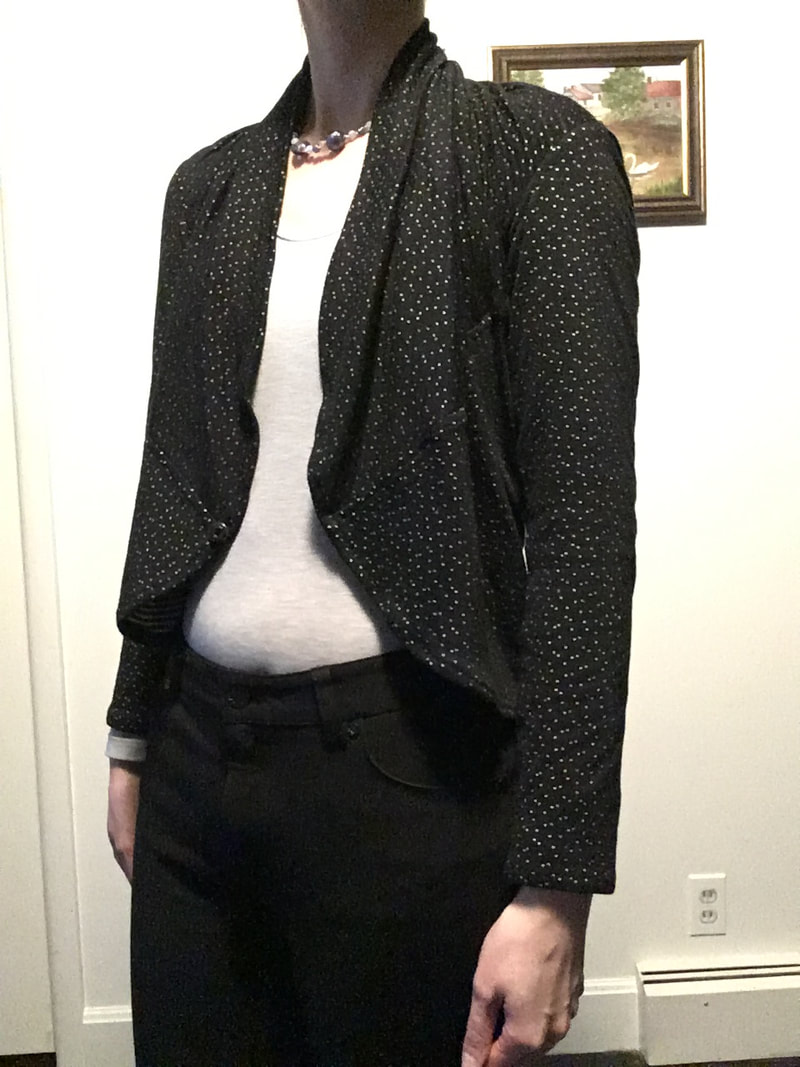
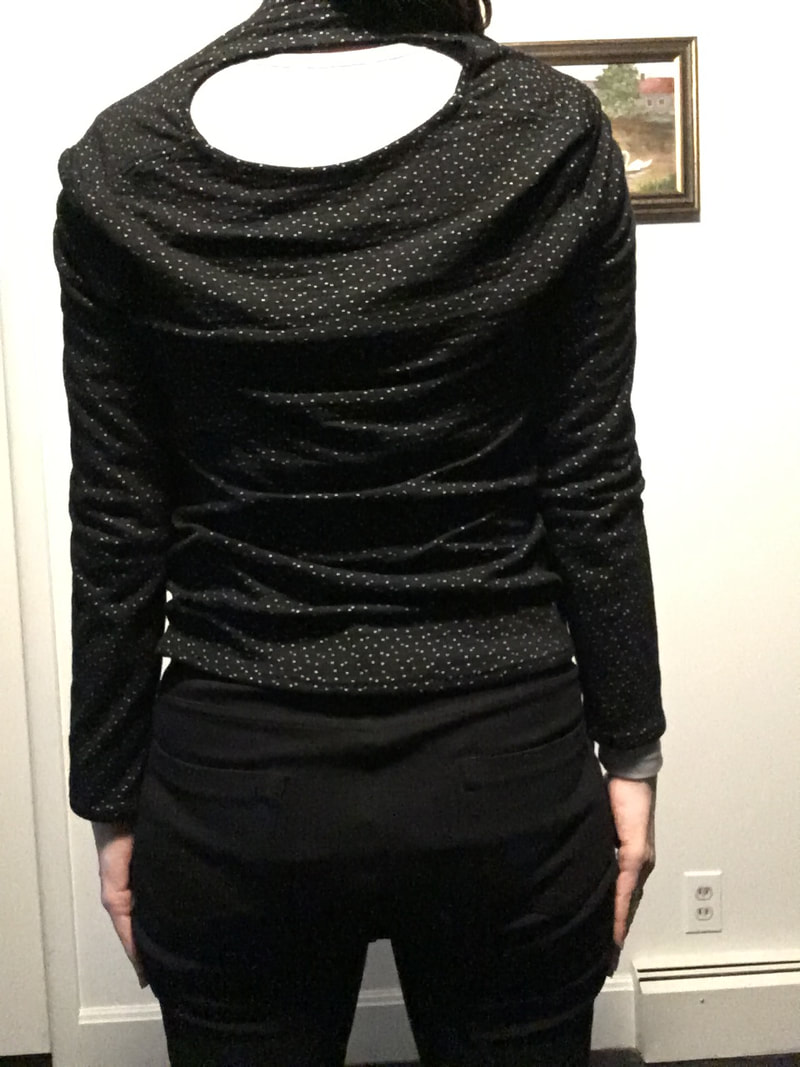
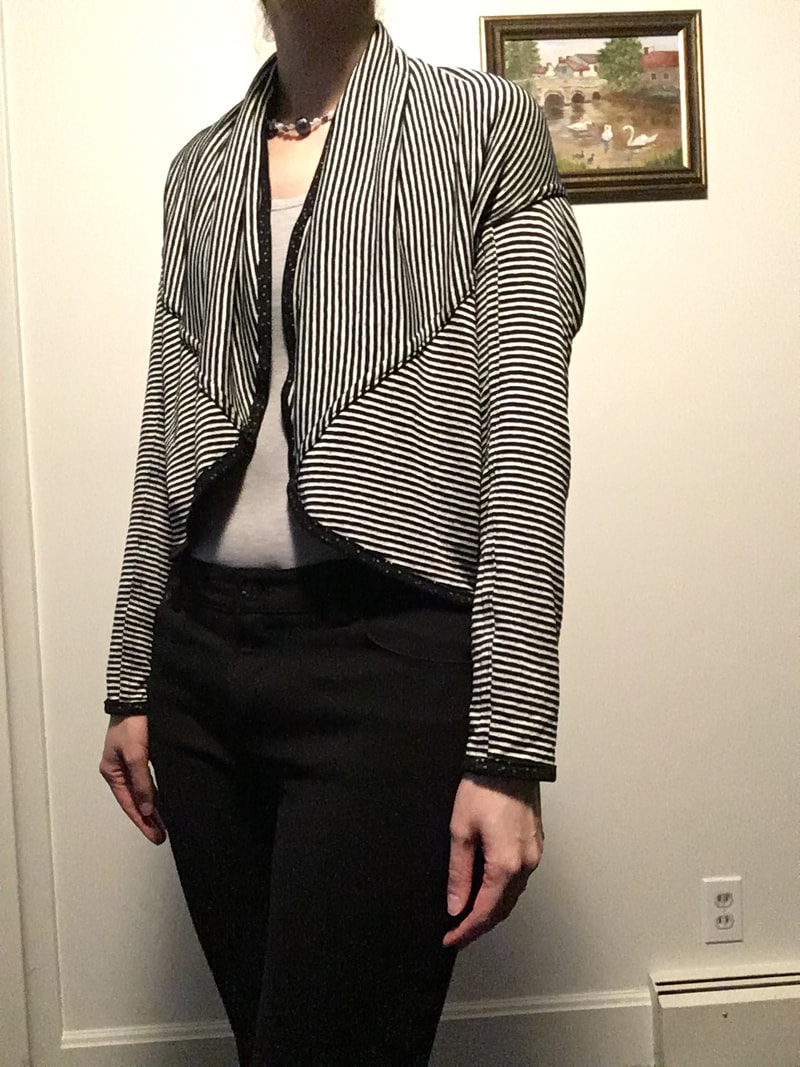
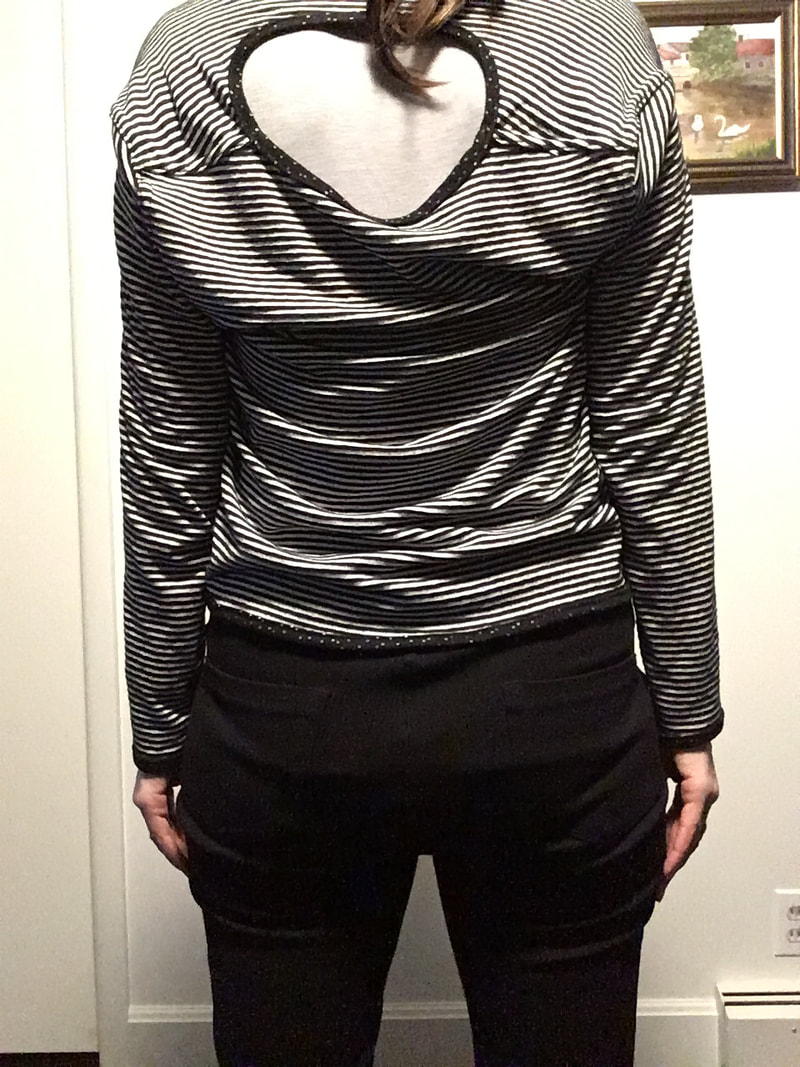
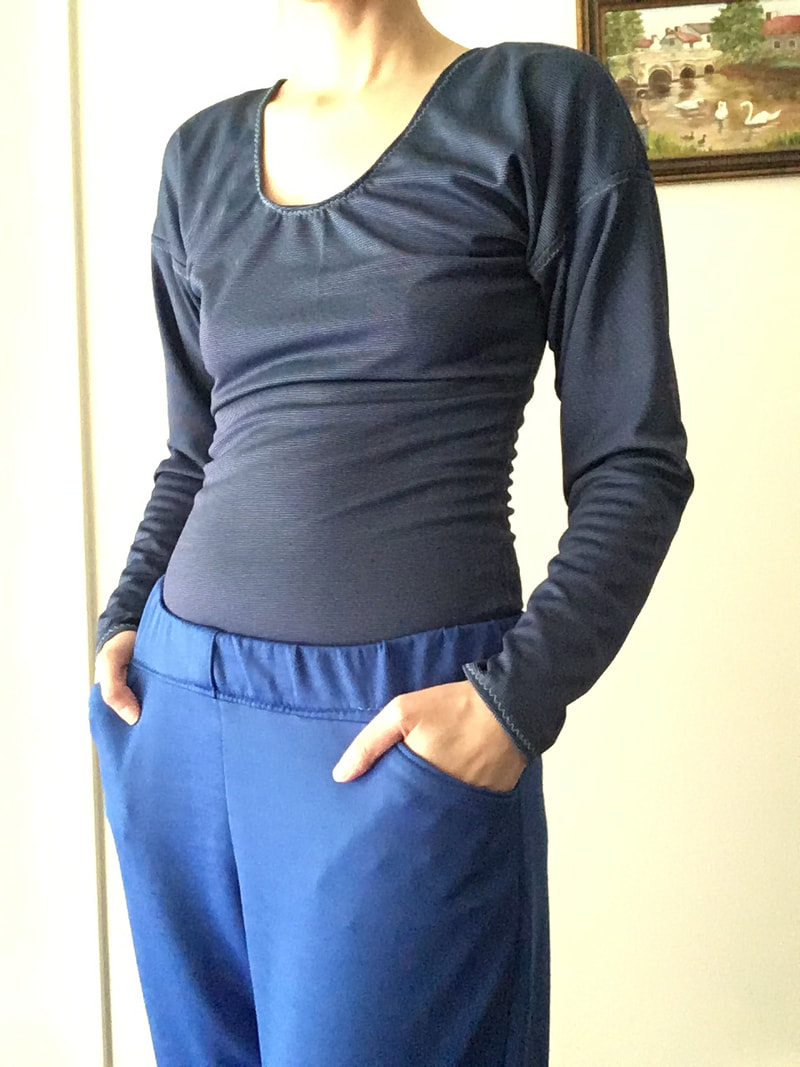
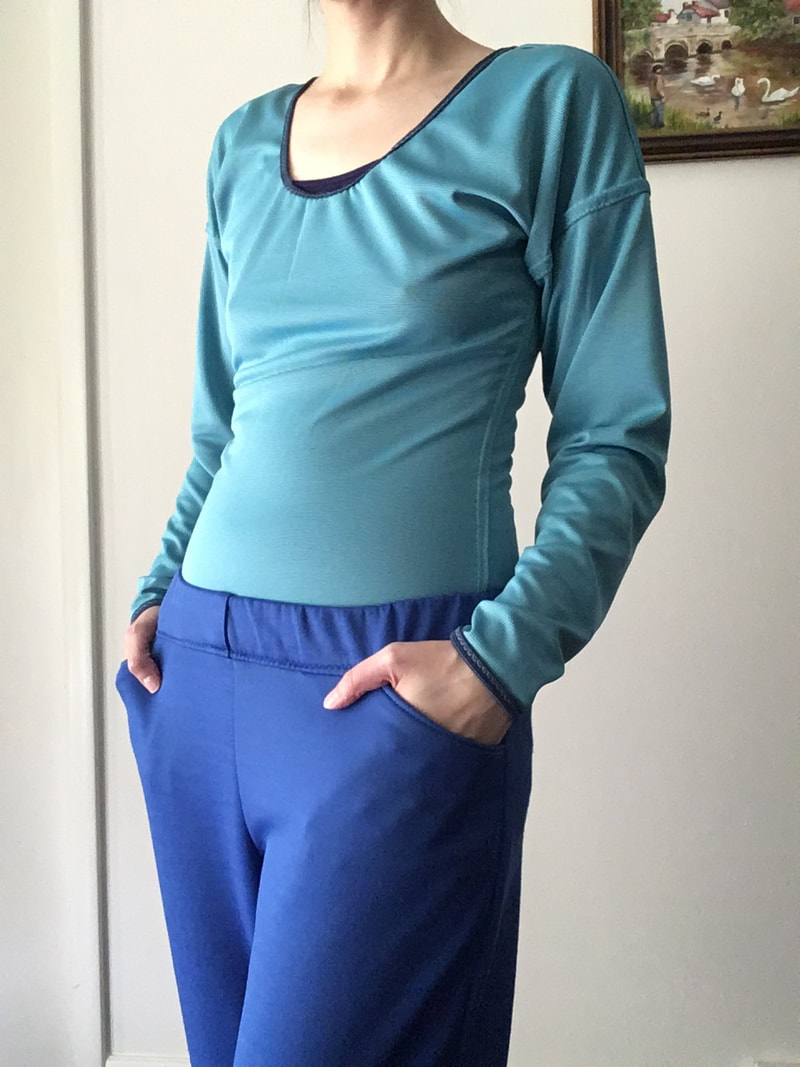
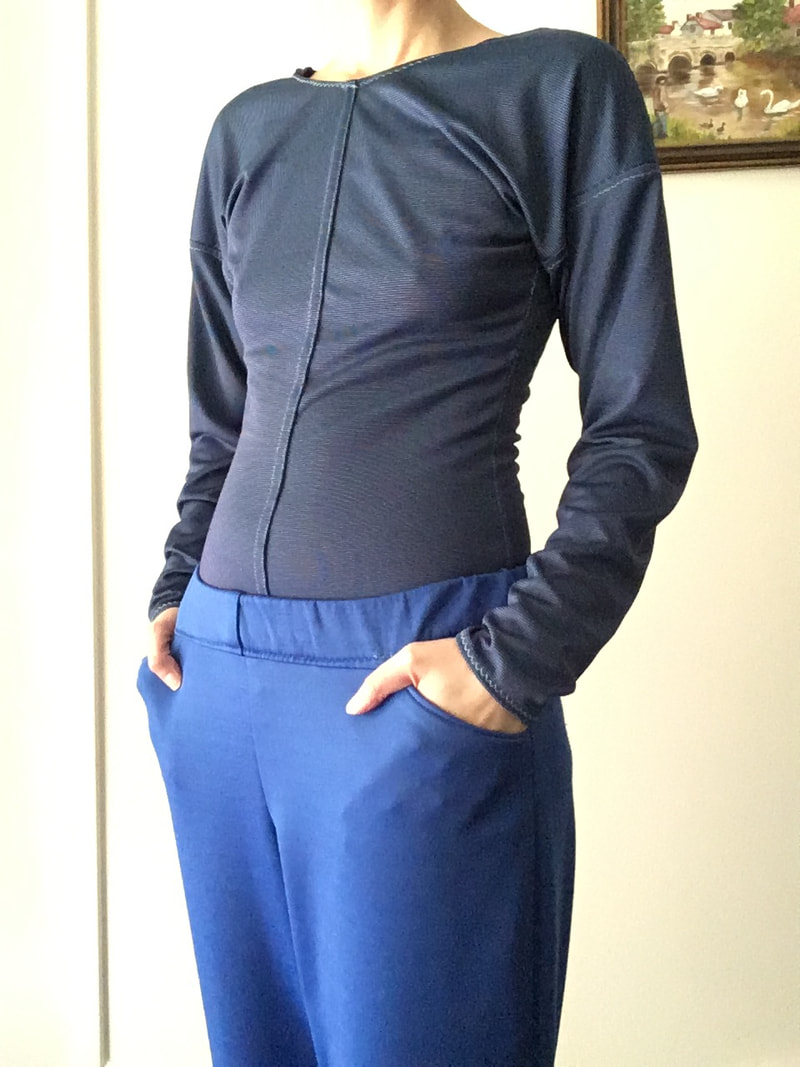
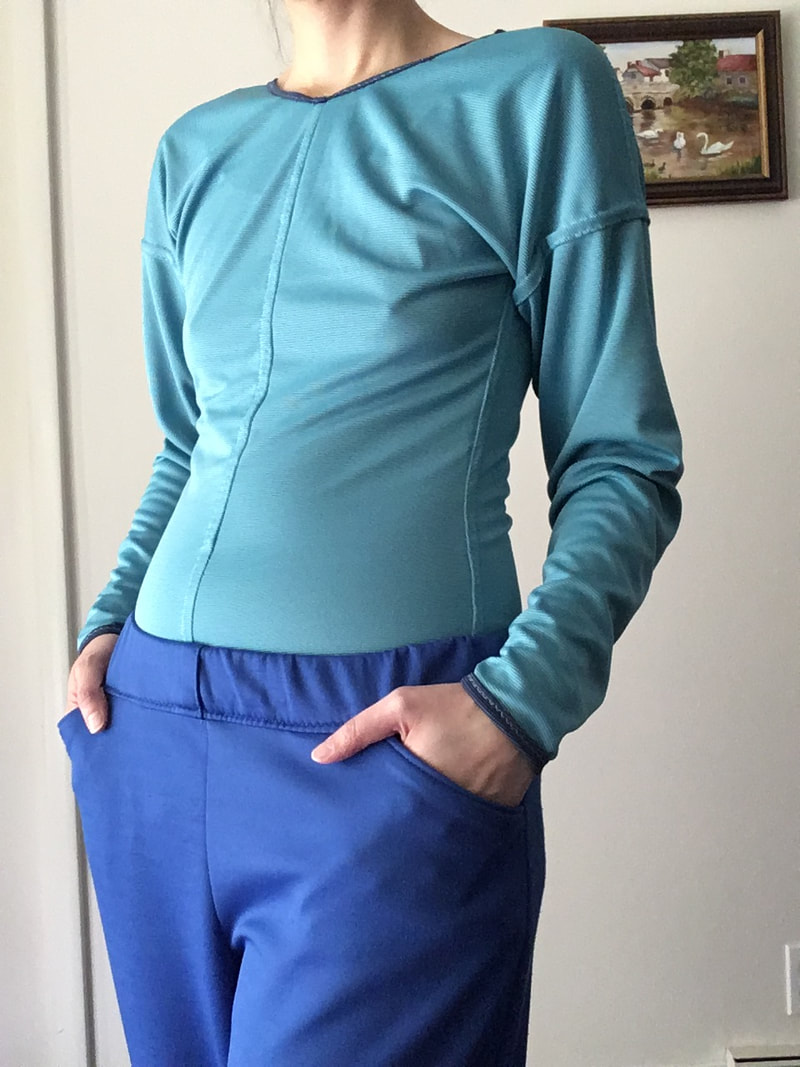
I bought some reversible fabric on fabric.com and decided to make a reversible, convertible cardigan. I used flat felled seams everywhere and rolled hems onto the striped side. I normally am scared of prints so decided to take a risk and try the speckle and stripes. I used a regular knit top pattern but pivoted the back and front parts at the top of the side seam. This makes the top a circle top but the shoulders still fit. As long as the circle bottom seam is wide enough, the front can be flipped over the neck and worn as cardigan as shown below. This particular fabric had a little more body than the other convertible tunic cardigan I made so the neckline ended up being a cutout on the back when this is worn as a cardigan. I made this shirt out of a remnant I found at Joann's. It reverses two ways. First, it can be turned inside out so it goes from a dark blue to bluish teal. Second, it can be reversed front back from a scoop neck to crew neck. I also made this shirt with a dropped sleeve (also sometimes called a dolman sleeve) since I was experimenting with that at the time. Since this was a remnant, I had to sew a seam up the middle of one side.
|
AuthorJust me. Plain and simple. Archives
November 2019
Categories
All
|

 RSS Feed
