|
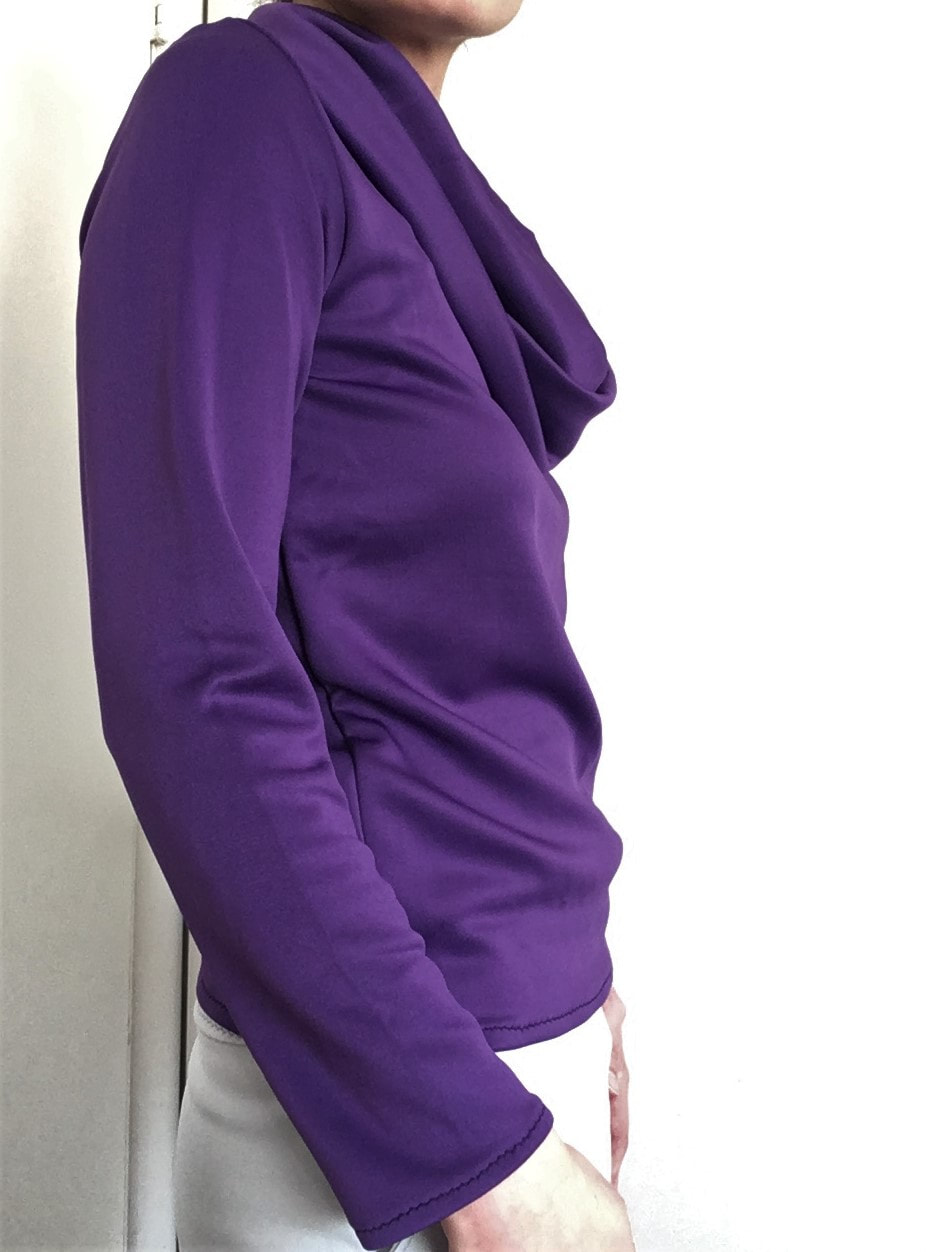
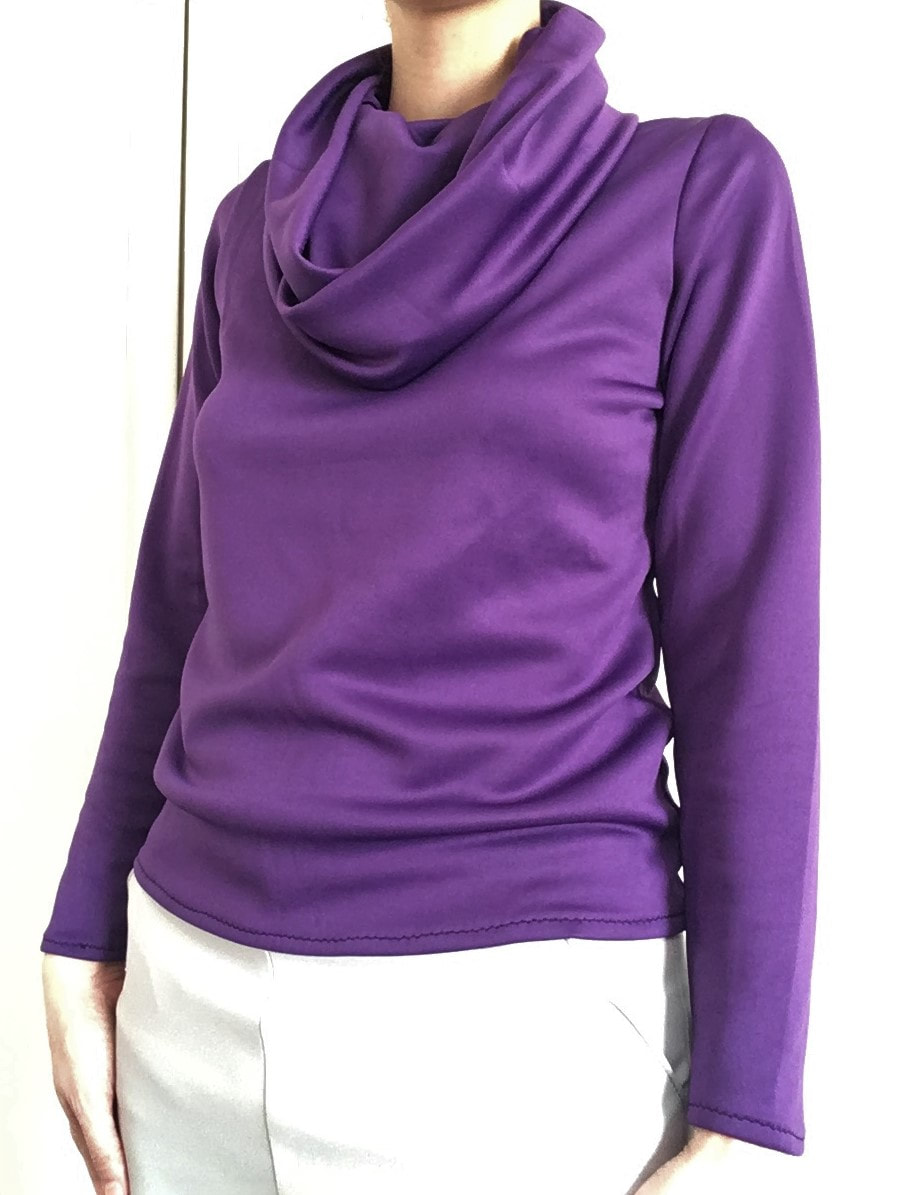
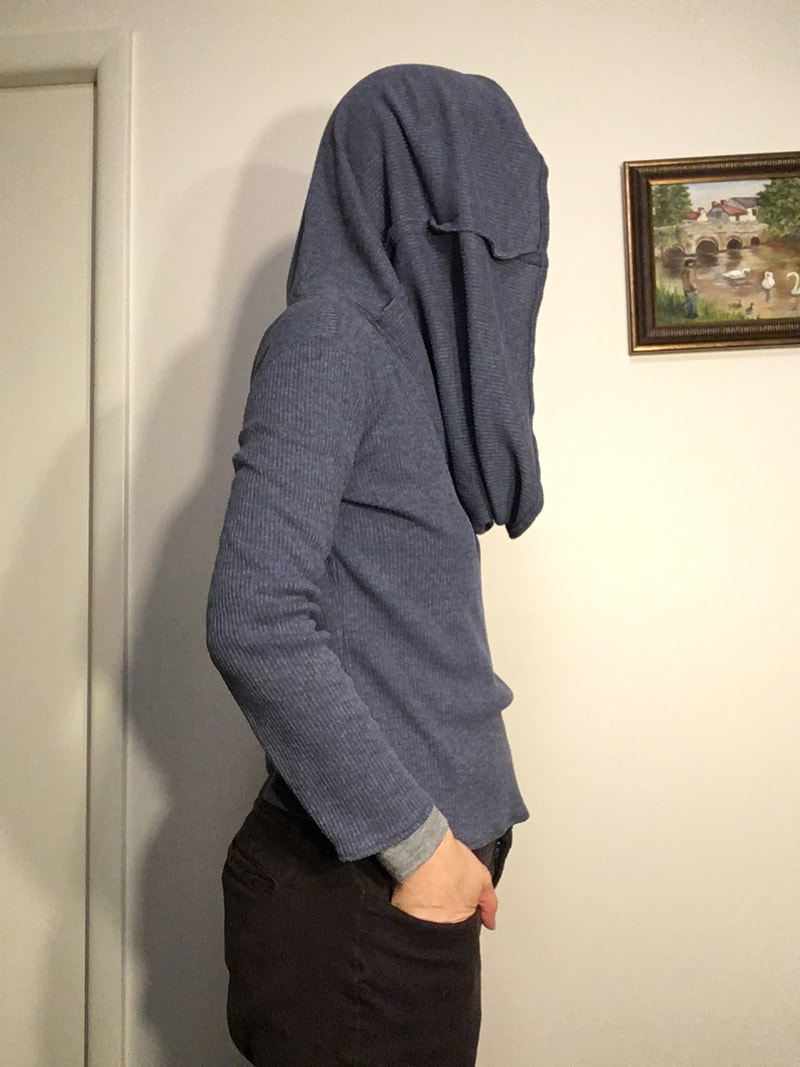
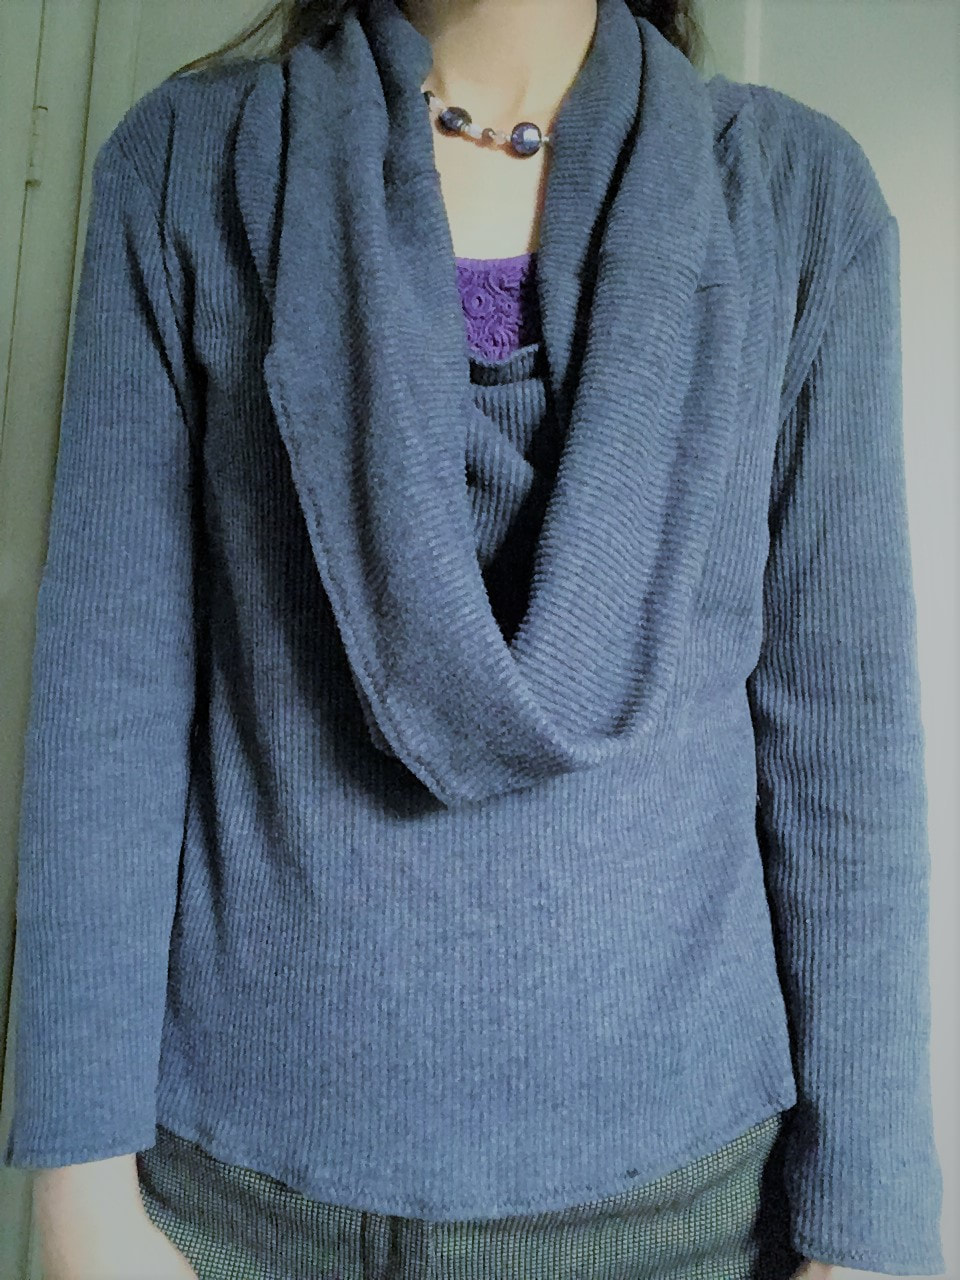
This is another one of my cowl neck hoodies and it is my favorite for the following three reasons:
0 Comments
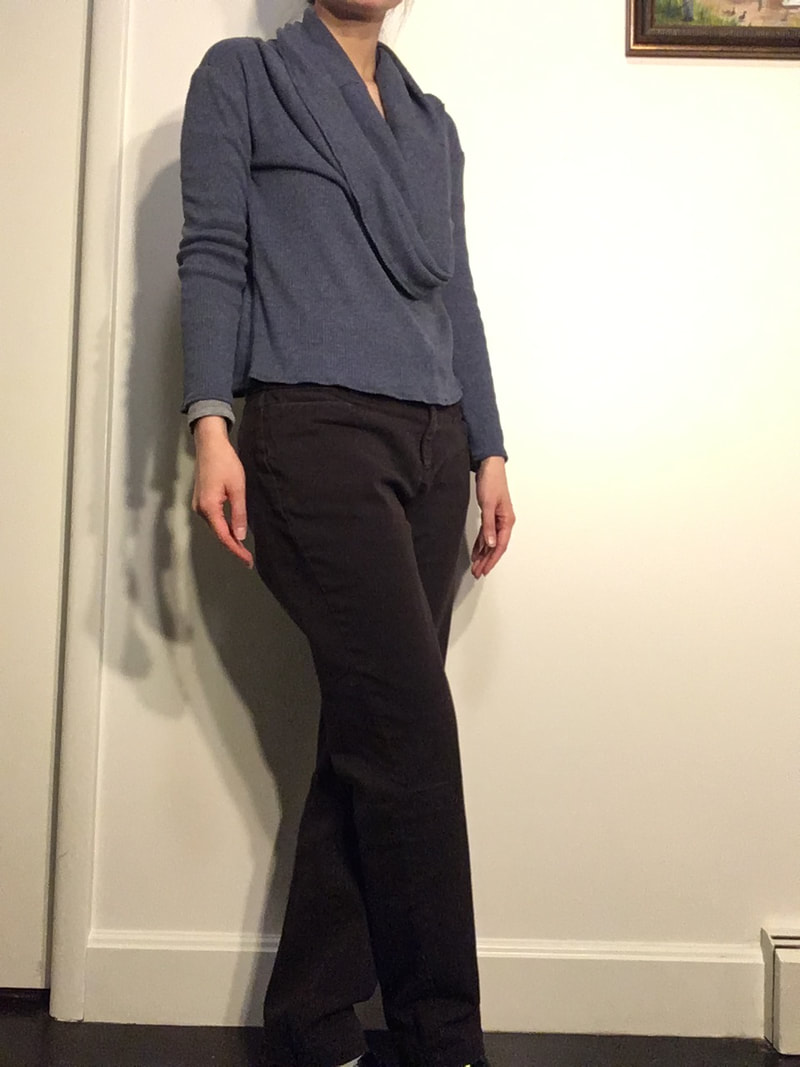
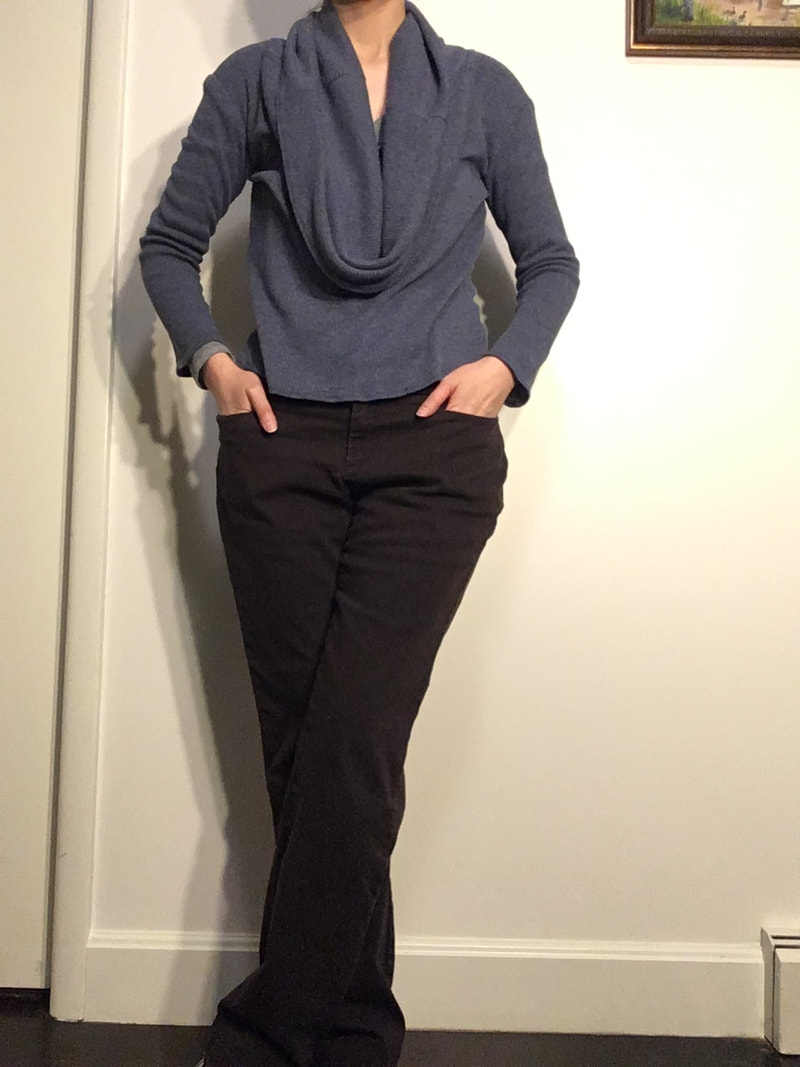
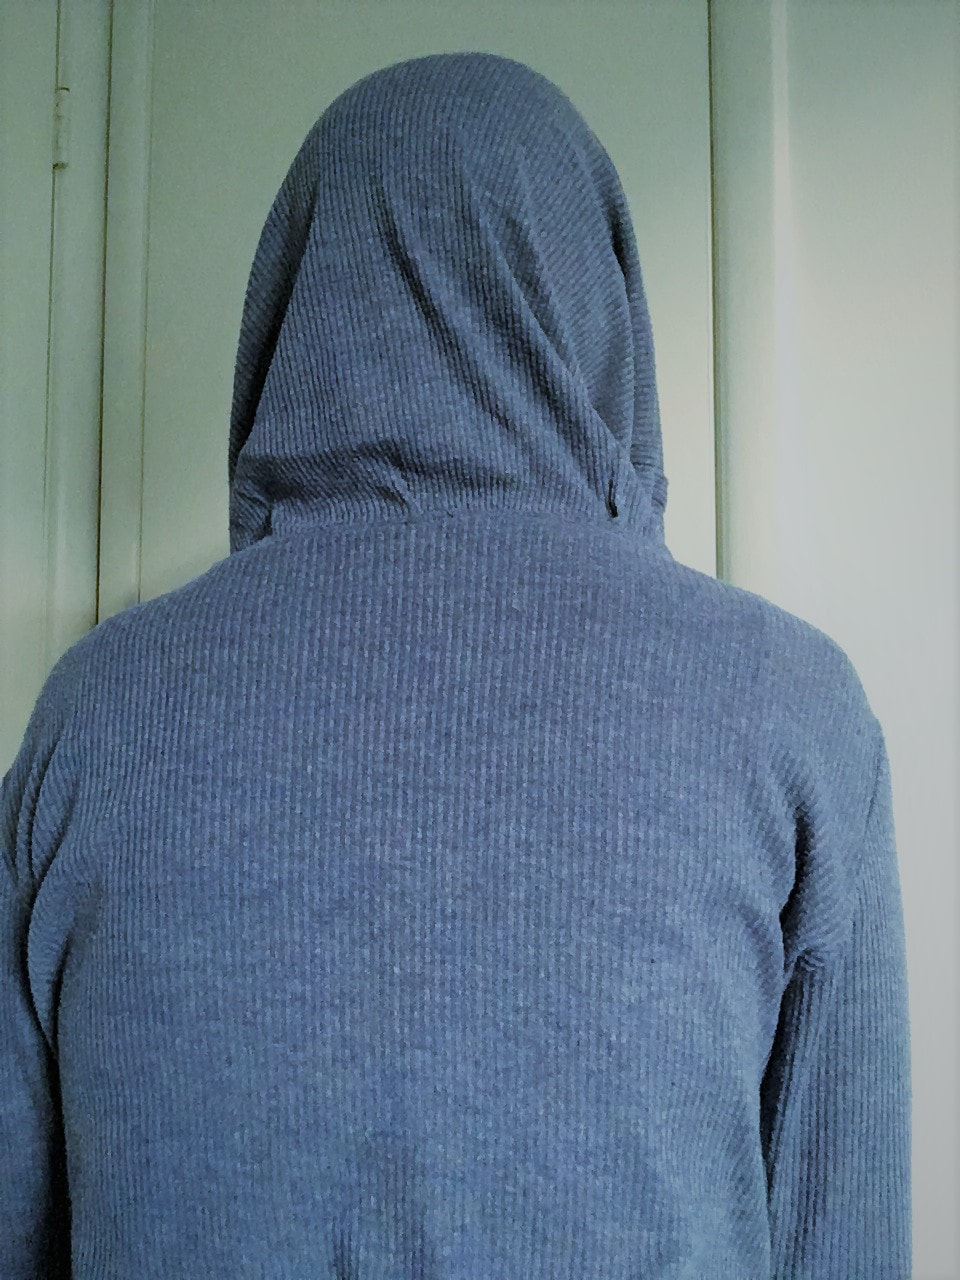
This is actually the first cowl neck hoodie I ever made. I made the hood/cowl neck way to big but it still works for the drama. I also hadn't quite figured out the lengthening for a long torso thing yet. But, overall, successful. I used a standard knit top pattern. For the cowl neck, I measured from the base of the back of my neck to just past my hairline and then added a few inches for hems, seams and to be safe. For me, it ended up being ~20 inches for length. I've found for the width, that at least 30 inches, preferably 33 to 34 (that includes seam allowance) usually works. I often make a few pleats attaching it to neckline on the shirt since most of the necklines (except this one) are not around 32 inches. I made this tunic that converts to a cardigan for travel. I also made a version that is more a bolero cardigan with a less full tunic for a friend of mine. I used some cheap, drapey polyester I got on Walmart (don't hate me) because it came in a three yard bundle which is enough to make two of these for a size small to medium. Because the front loops around the neck when worn as a cardigan, there is a cutout in the back where the neckline sits. I also added a snap in the same color so I can close the cardigan.
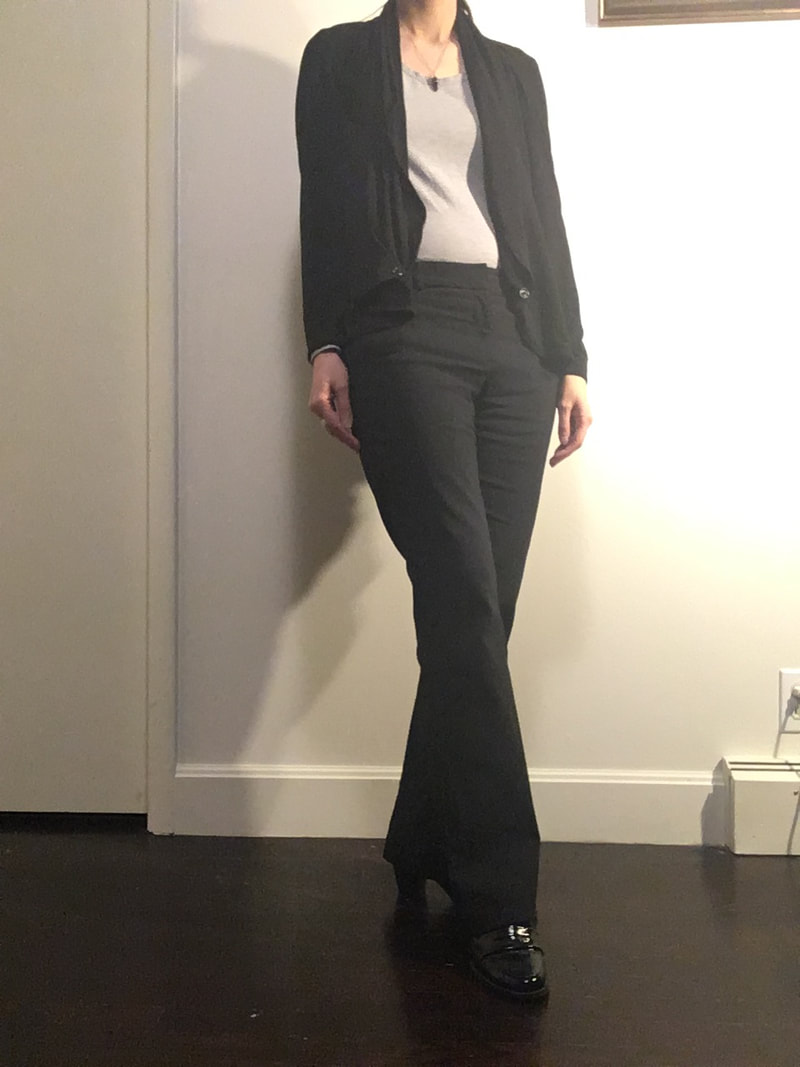
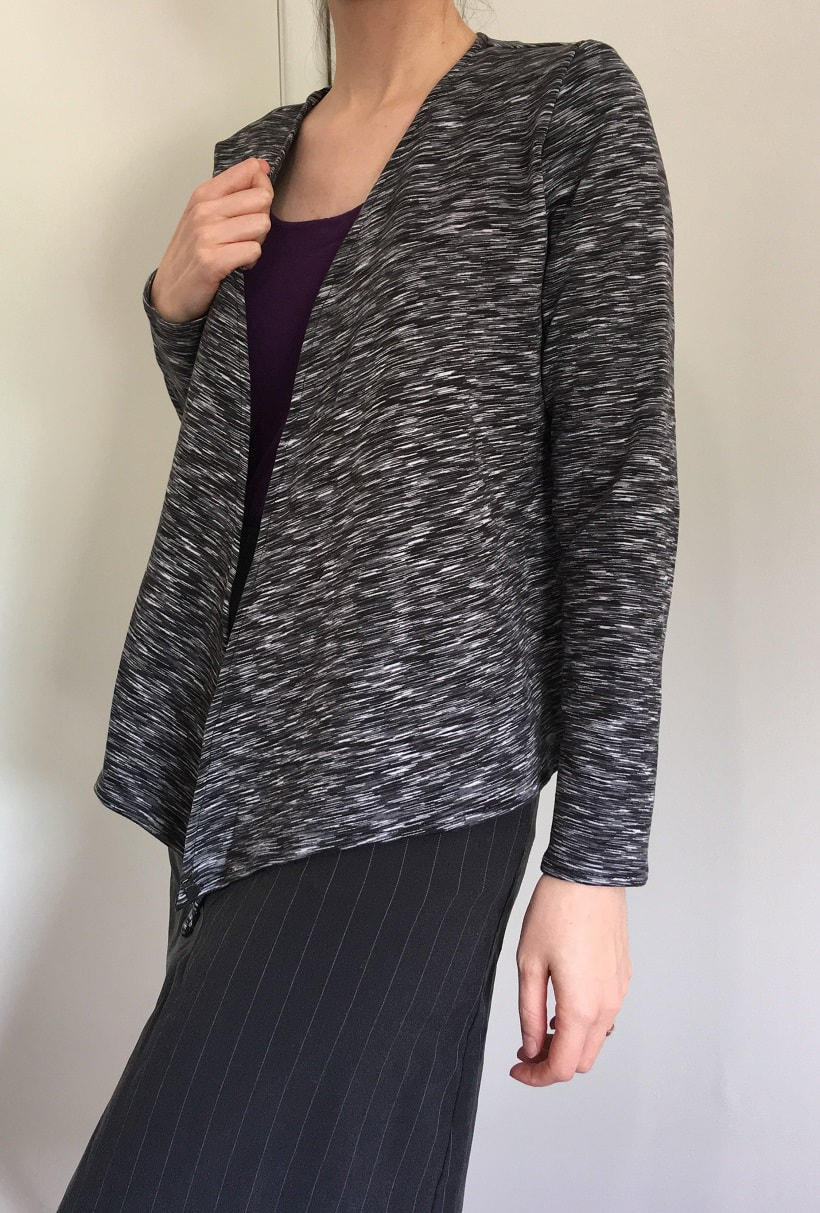
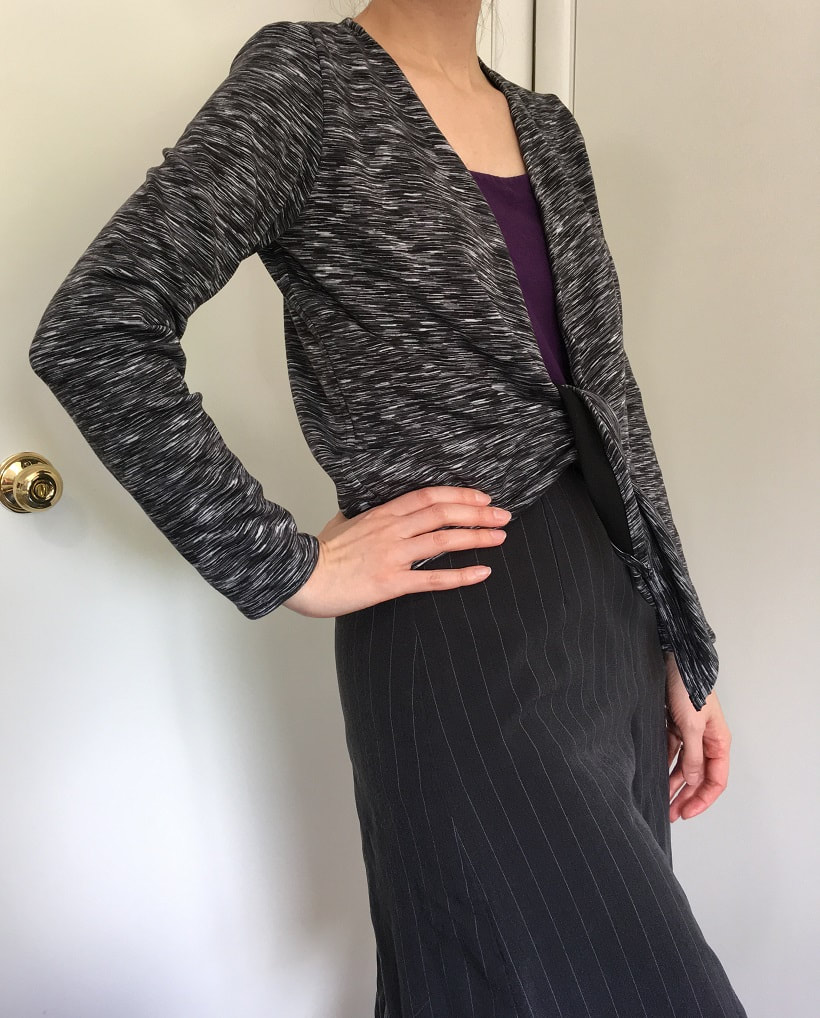
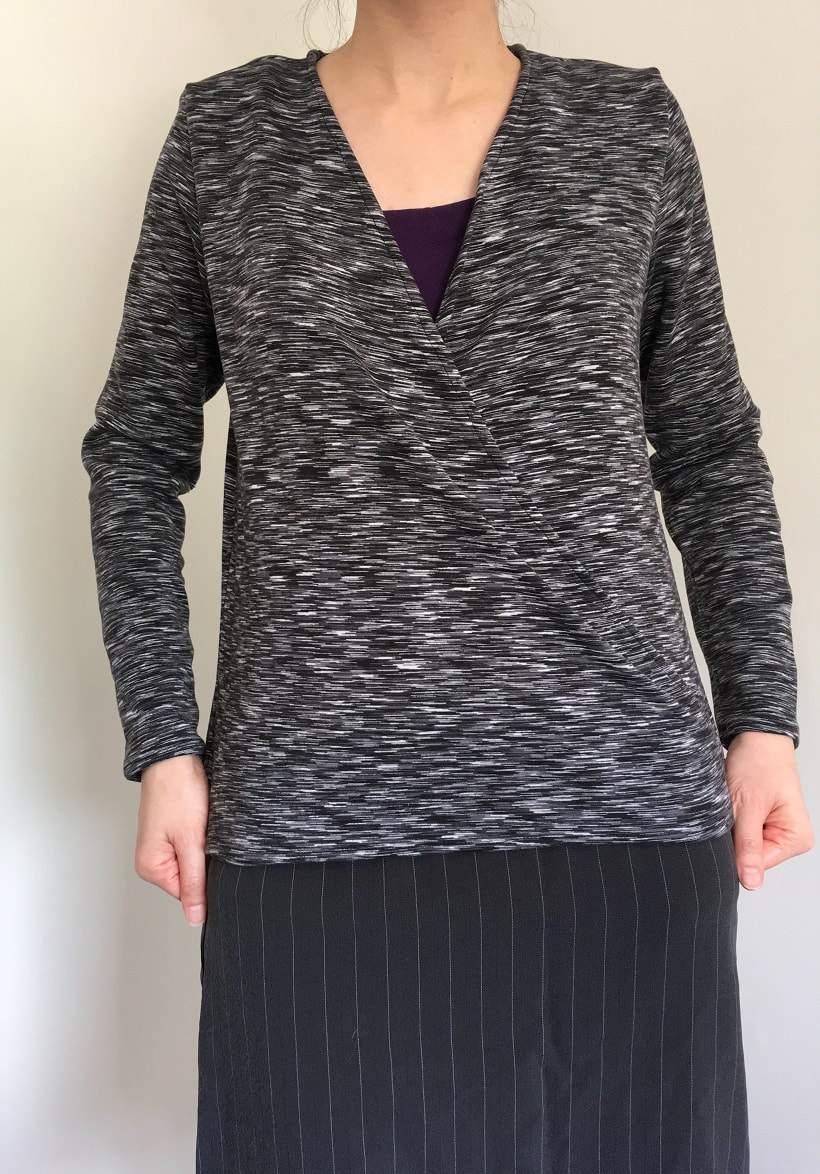
So my love of all things reversible and convertible is probably obvious by now. Well, I decided to combine the two! Based on Nic and Zoe's four-way convertible wrap cardigan, I made this lovely number. I used some athletic fabric from Joann's that was reversible (black on one side, space dyed or static pattern on the other) and could pass as professional.
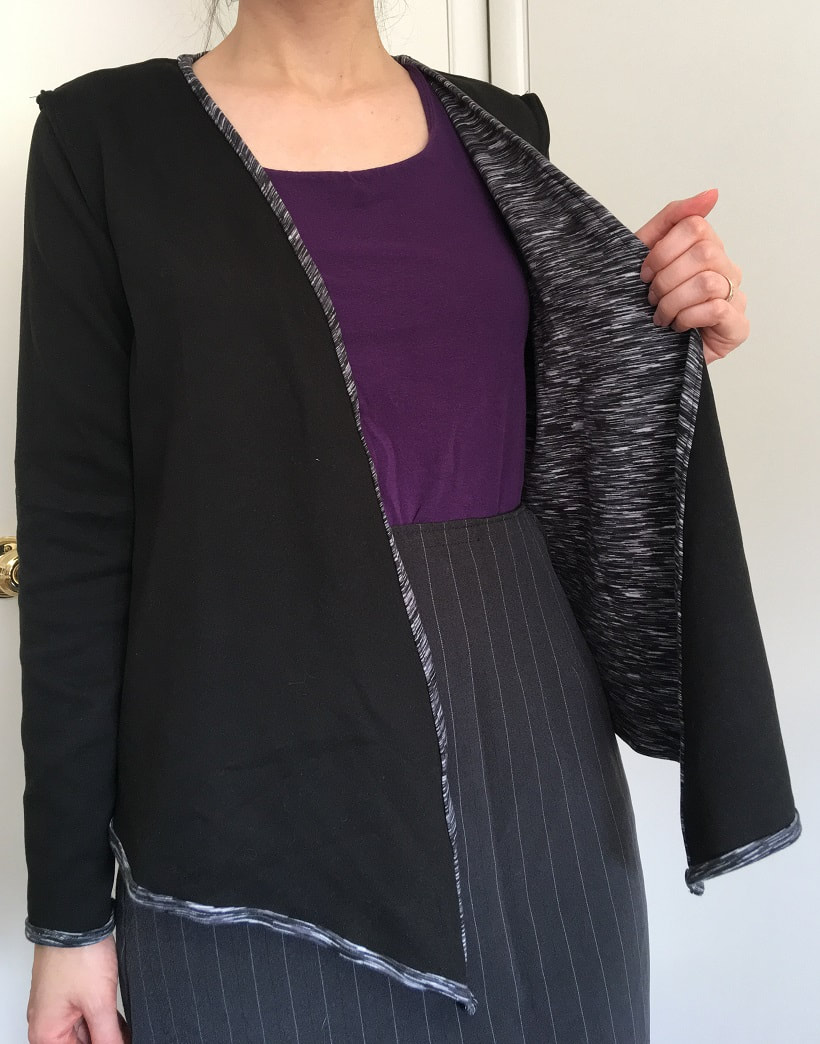
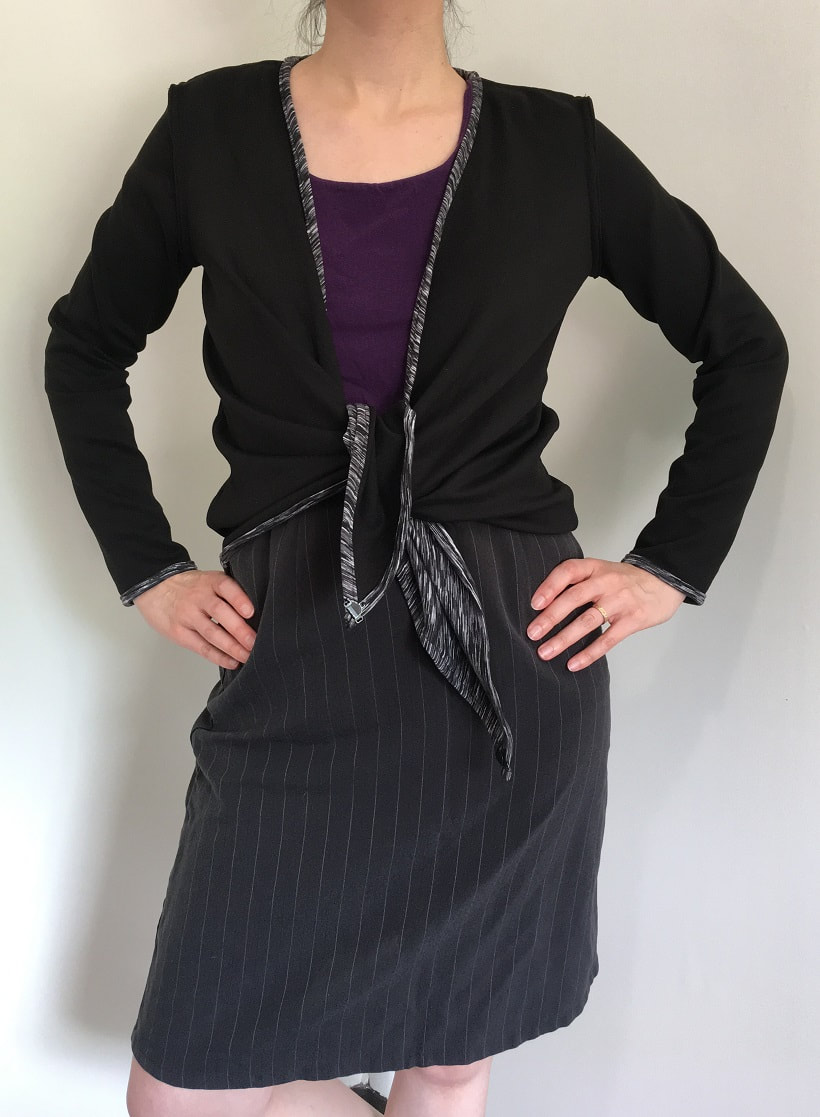
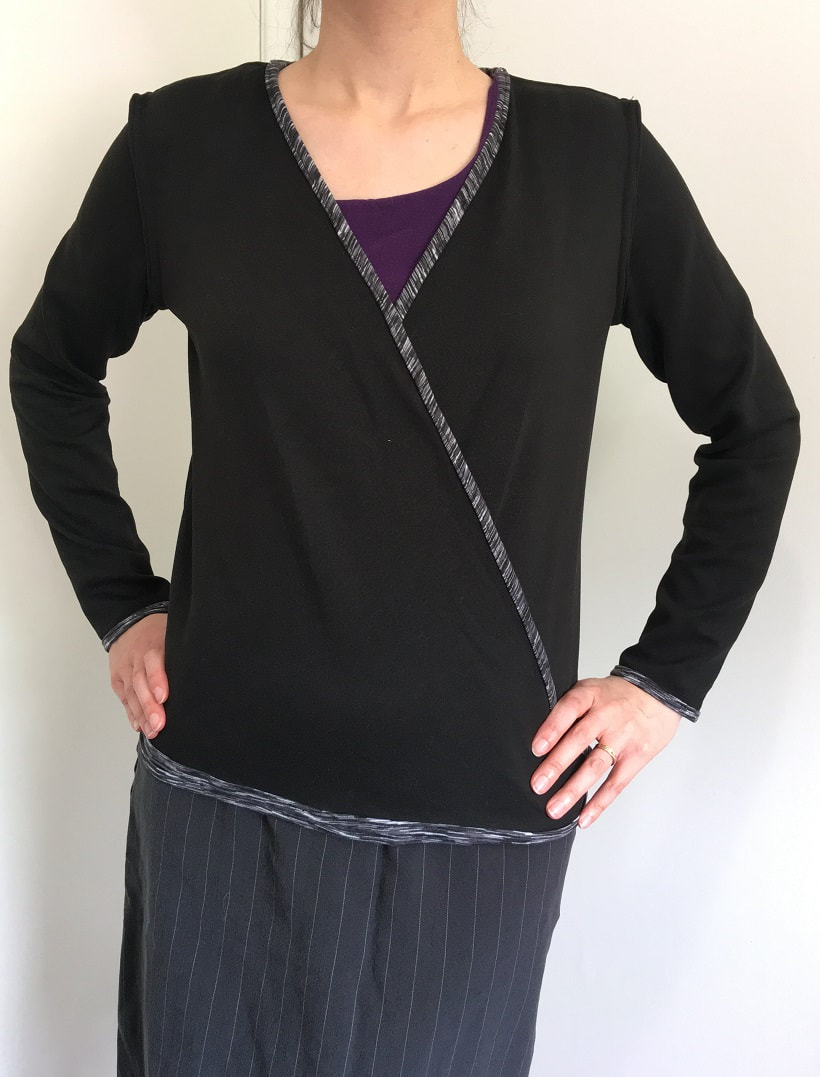
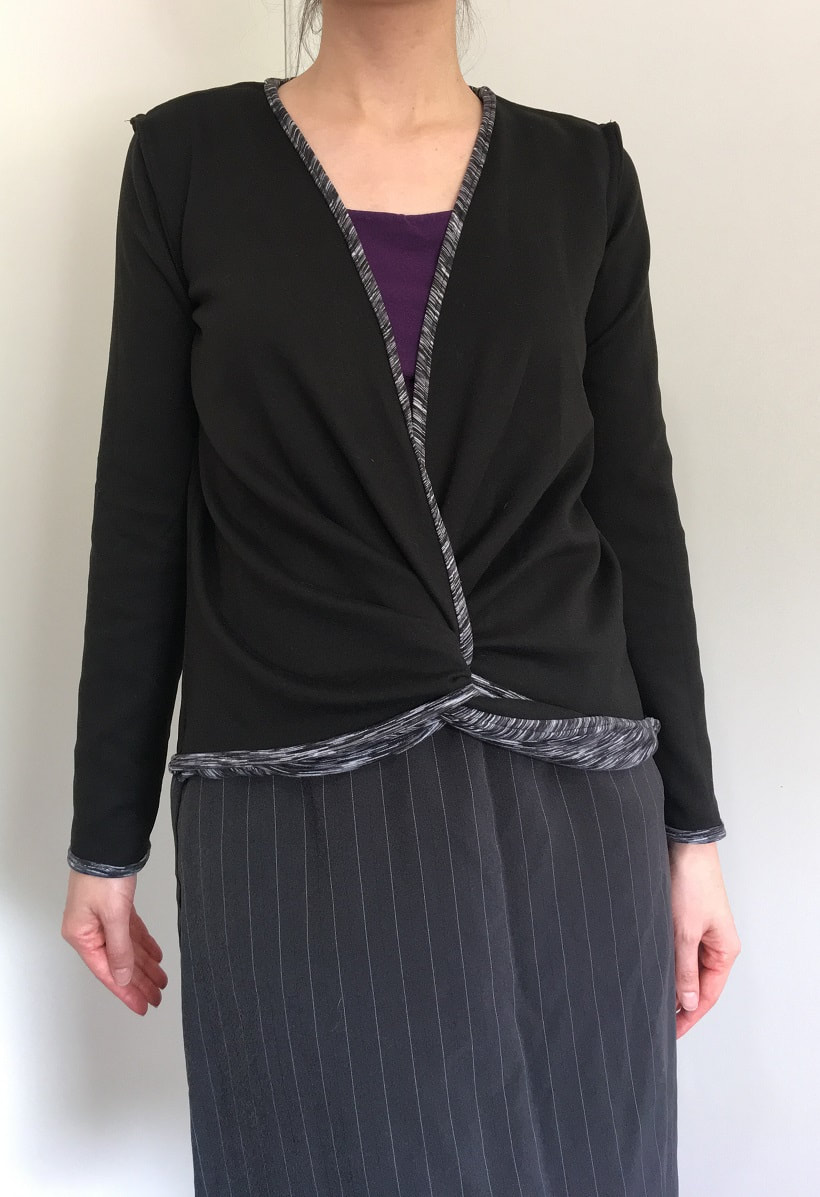
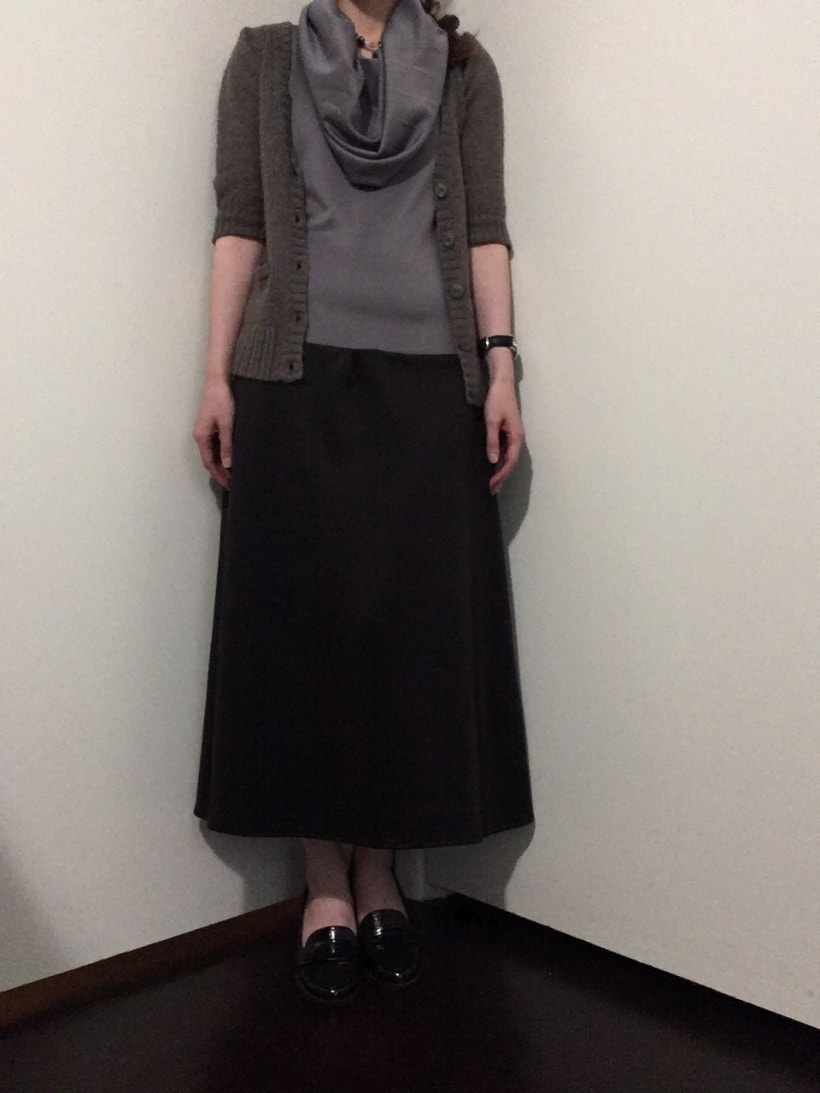
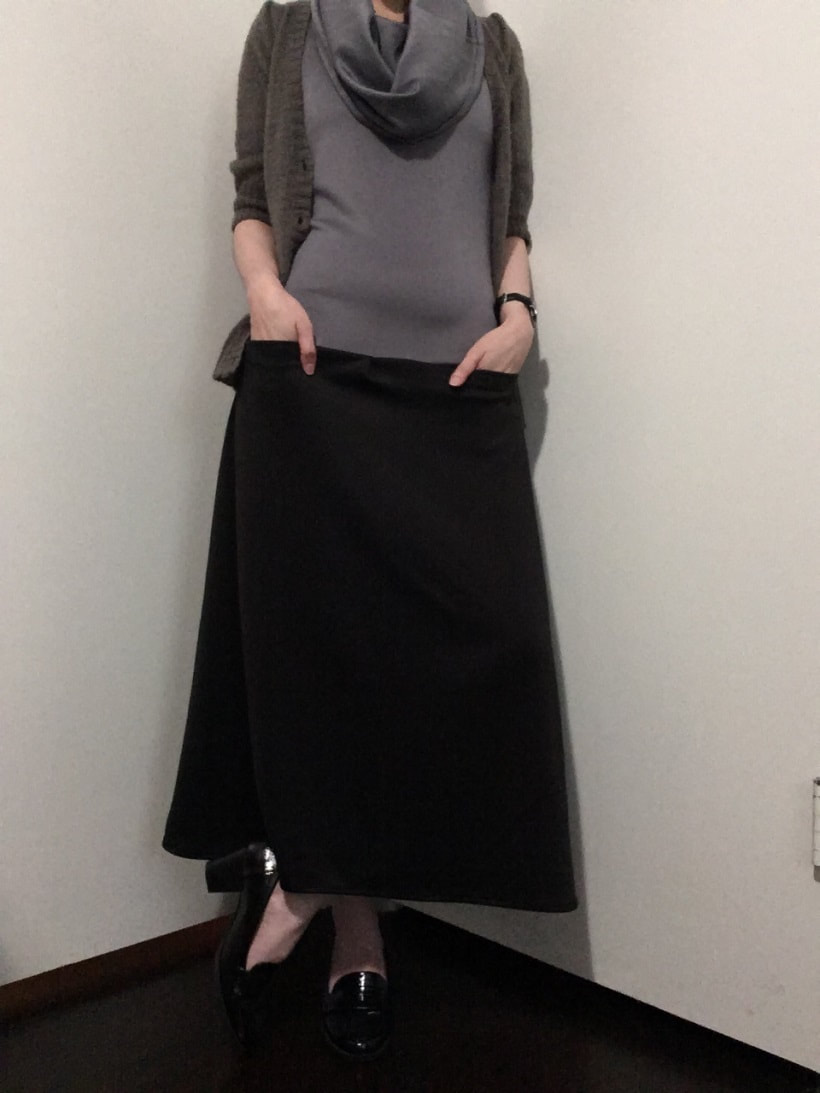
I used a standard cardigan pattern, Butterick 6580, doubled the width of the bottom hem for the front piece and then made front shoulder meet the bottom hem in a diagonal instead of the standard cardigan perpendicular edge. The seams are all flat felled except I used a pintucked seam on armholes. There are hooks on the side seams, one on the outside and one on the inside. The other half of the hooks are on the ends of the wrap front. If you try to make something like this, make sure the hook pieces will line up or match even if it's the standard wrap closure (pictures 5 and 6) or the twist closure (pictures 7 and 8). For the twist, you attach the end of each wrap to the same side whereas for the wrap closure you attach the ends to the opposite sides. So the ends have to have the same part of the hook and the side seams have to have the same part of the hook. Since the solid black can be a bit boring, I decided to have the rolled hems go towards that side so the space dyed pattern would accent. As usual, great for travel given the convertible and reversible aspects. When worn with the wrap closure, the shirt can be tucked in to look like a blouse or worn untucked to look like a cardigan. The front does tend to fall open when worn with wrap closure style and untucked. Have I mentioned how much I love maxi skirts and dresses? The black and grey one is actually a dress with a cowl neck that doubles as a hood. The pockets are seam pockets sewn into where the grey meets the black. It's great for when I need to be outside in summer but it might rain.
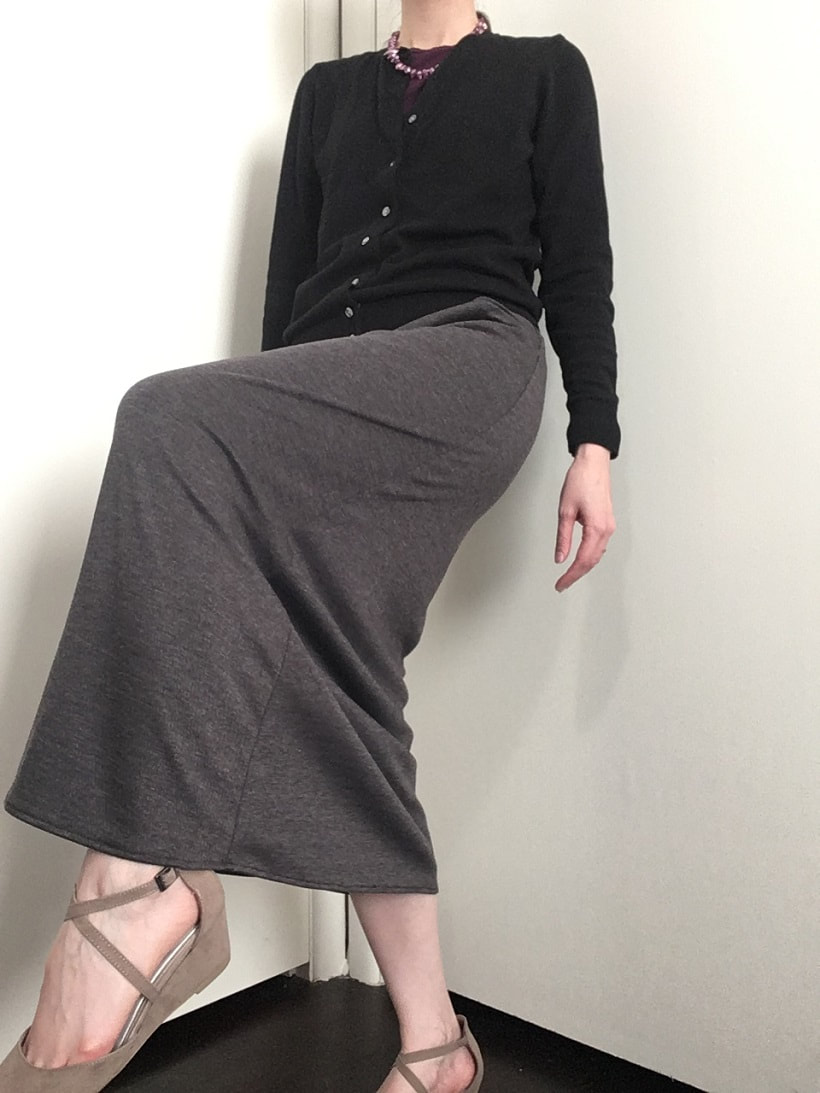
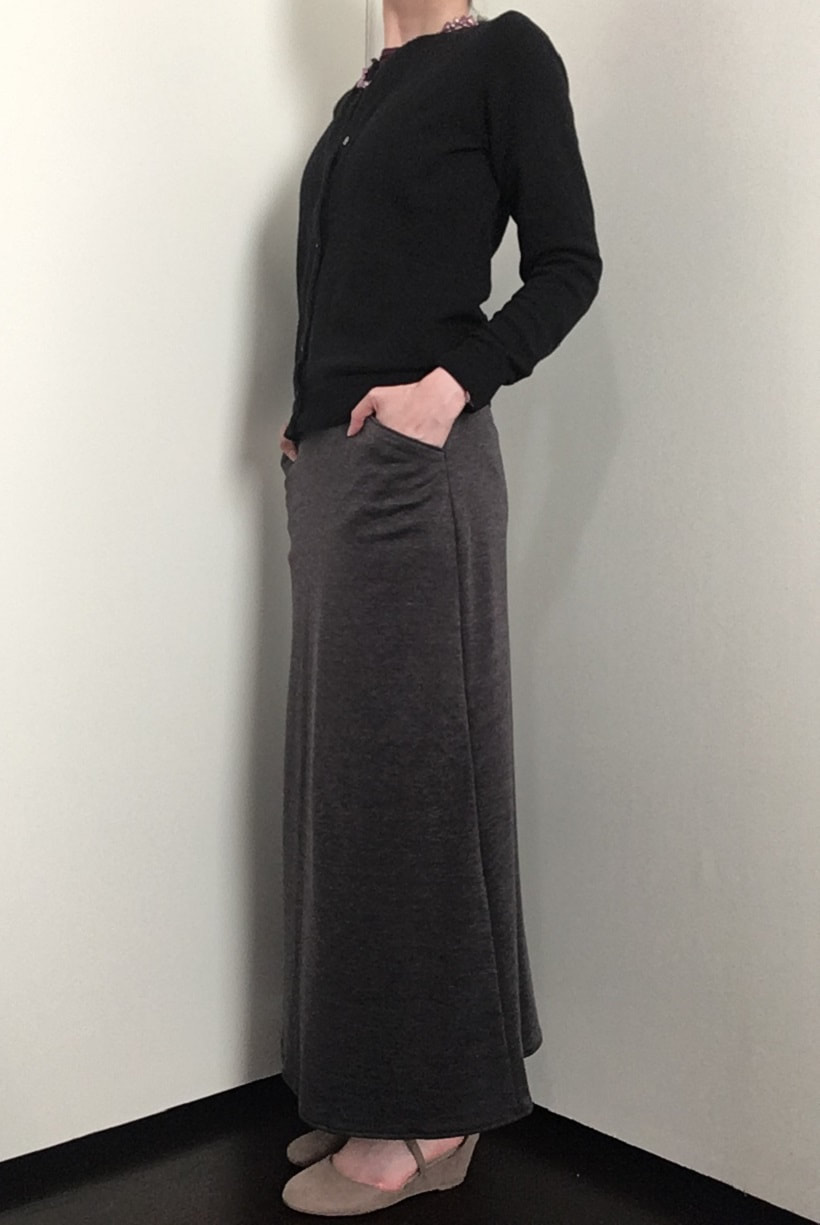
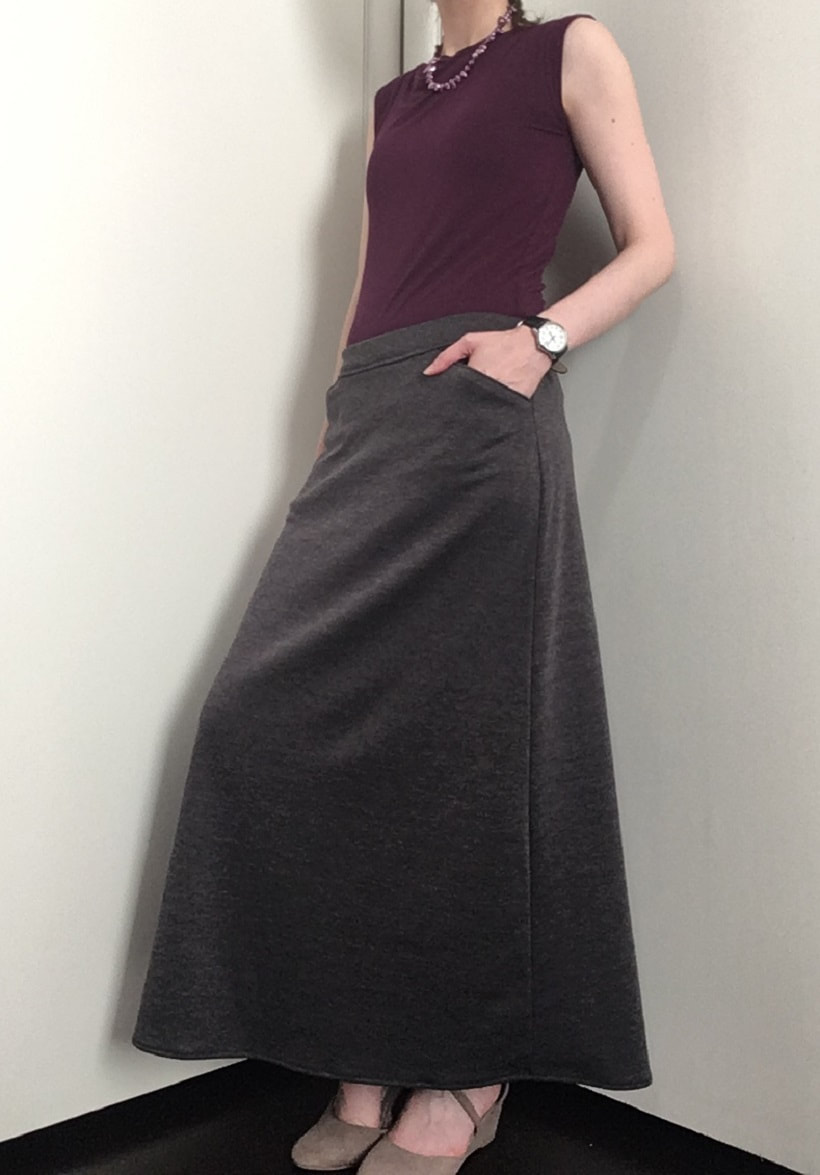
The skirt I made from Ponte de Roma and has a fairly simple a-line shape with slash pockets. I am really trying to make maxi length skirts appropriate for business casual environments. Not only are they good year round but you don't have to worry about the skirt riding up too much or shaving your legs. I also tend to like to cover up more than others (although I'm totally fine if others dress themselves differently) so the maxi length works well. |
AuthorJust me. Plain and simple. Archives
November 2019
Categories
All
|


 RSS Feed
